CONTENT WARNING: Casual mentions of alcohol consumption. Please be advised.
IT ALL STARTED WHEN…
To be honest, I have no clue exactly when my desire for a bar cart started. I doubt it was in college when many people are newly-21 and on the quest for booze, any booze. And why would my broke friends and I keep a fully stocked cart when the bottle or two we could get our hands on was meant to be finished off? Quickly.
It wasn’t from watching Mad Men either. As inspired as I am by the show, I don’t think I ever watched an episode in my dorm and thought, “Ooh you know what? I wish I had rye, sugar cubes, cherries, bitters, and blocks of ice to make an Old Fashioned right now on a cart. If only I could wheel ‘em out!”
If I had to guess, my wish for one came post-undergrad while flicking through the pretty, stylized photos I saw on Instagram and Pinterest. There’s an appealing practicality to them; they provide easy access to libations away from the crowdedness of a bar. They also give endless possibilities for decor, and truth be told, it doesn’t really matter where I discovered them, or how practical they are, all that matters is that I wanted one and I wanted to make it my own…
But do y’all know how much those things cost?! And then when you get one, did you know that you have to stock it? For some people, that might be an easy investment, but as I’ve looked at them casually these past few years, I’ve always shuddered at the price.
When thinking about buying one for my new apartment, I thought I could circumvent some of the cost by finding a vintage or secondhand bar cart at a thrift shop or on Facebook Marketplace. However, like with any resale furniture or houseware, there’s always the possibility of the price being higher due to its rarity and/or demand.
Another option was to buy a nice utility cart new and just upgrade the heck out of it. This was my plan until I found an actual bar cart at a local thrift shop…
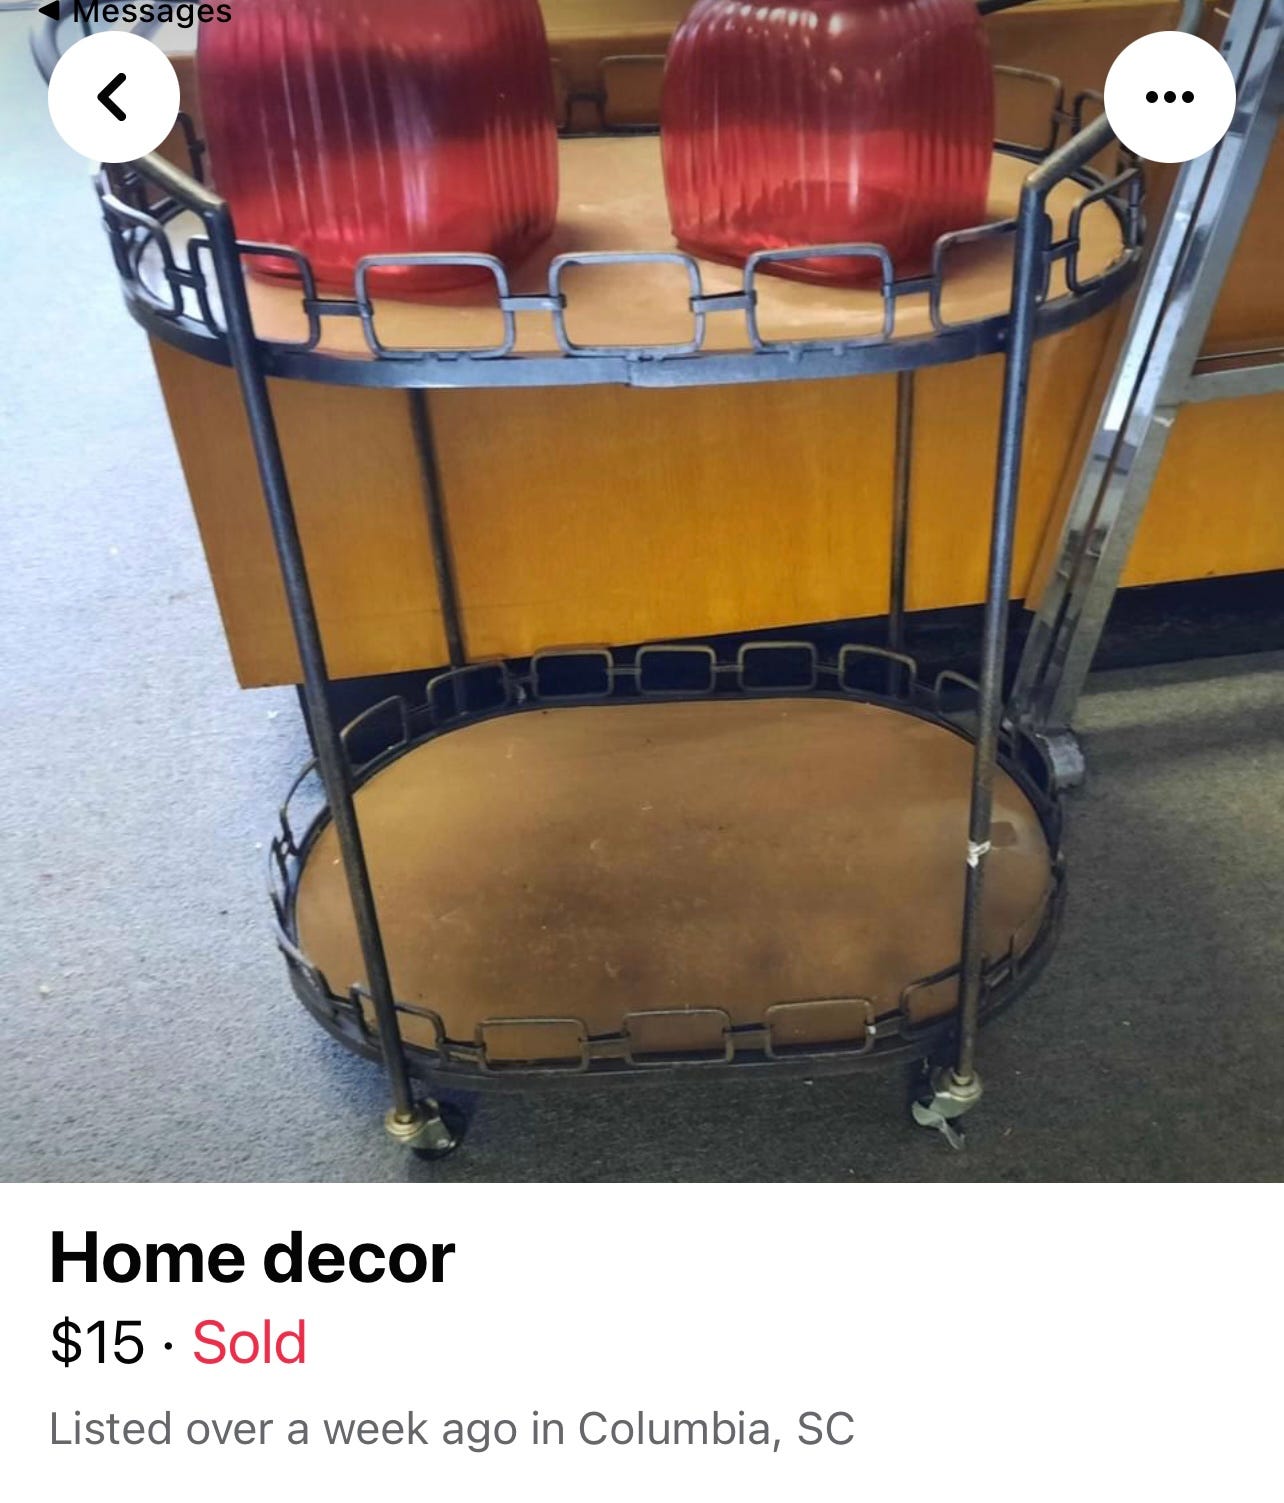
Okay, technically my mom found it. I scour Facebook Marketplace almost all the time, a pandemic-safe way to window shop. But I must have missed this one, having only seen it when I got a link from my mom via text message late one night. From the photo, it wasn’t pretty like the newer carts, and I couldn’t place when it was made like the vintage ones. But what I did see was that it was $15, and for someone who likes a project, that was enough for me.
LET THERE BE LIGHT
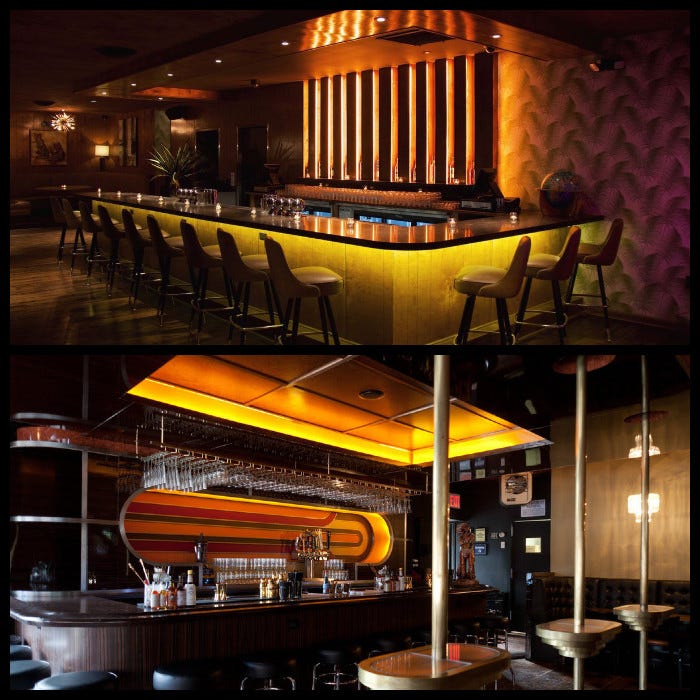
Knowing I want a retro, 70s Vibe around my new apartment, I searched for 1970s bar carts on Pinterest for makeover inspiration. This led me to articles not about vintage bar carts, or even actual bars from the era, but two modern establishments inspired by the 70s. I wanted to capture L.A.’s Blind Barber and NYC’s Golden Cadillac, both beautifully designed with dark wood and moody upholstery accented by brass and warm yellow light.
SUPPLIES:
· Cleaner and a cloth or paper towels
· Phillips screwdriver
· Sandpaper
· Wood stain, like this one from Minmax, or a combination of latex paints.
· A cloth or brush
· Spray paint. I used Rust-O-Leum’s Champagne Bronze Metallic (fitting for a bar cart, I think)
· Polyurethane
· Super Glue
· Tape Measurer
· Gloves
THE UPGRADE
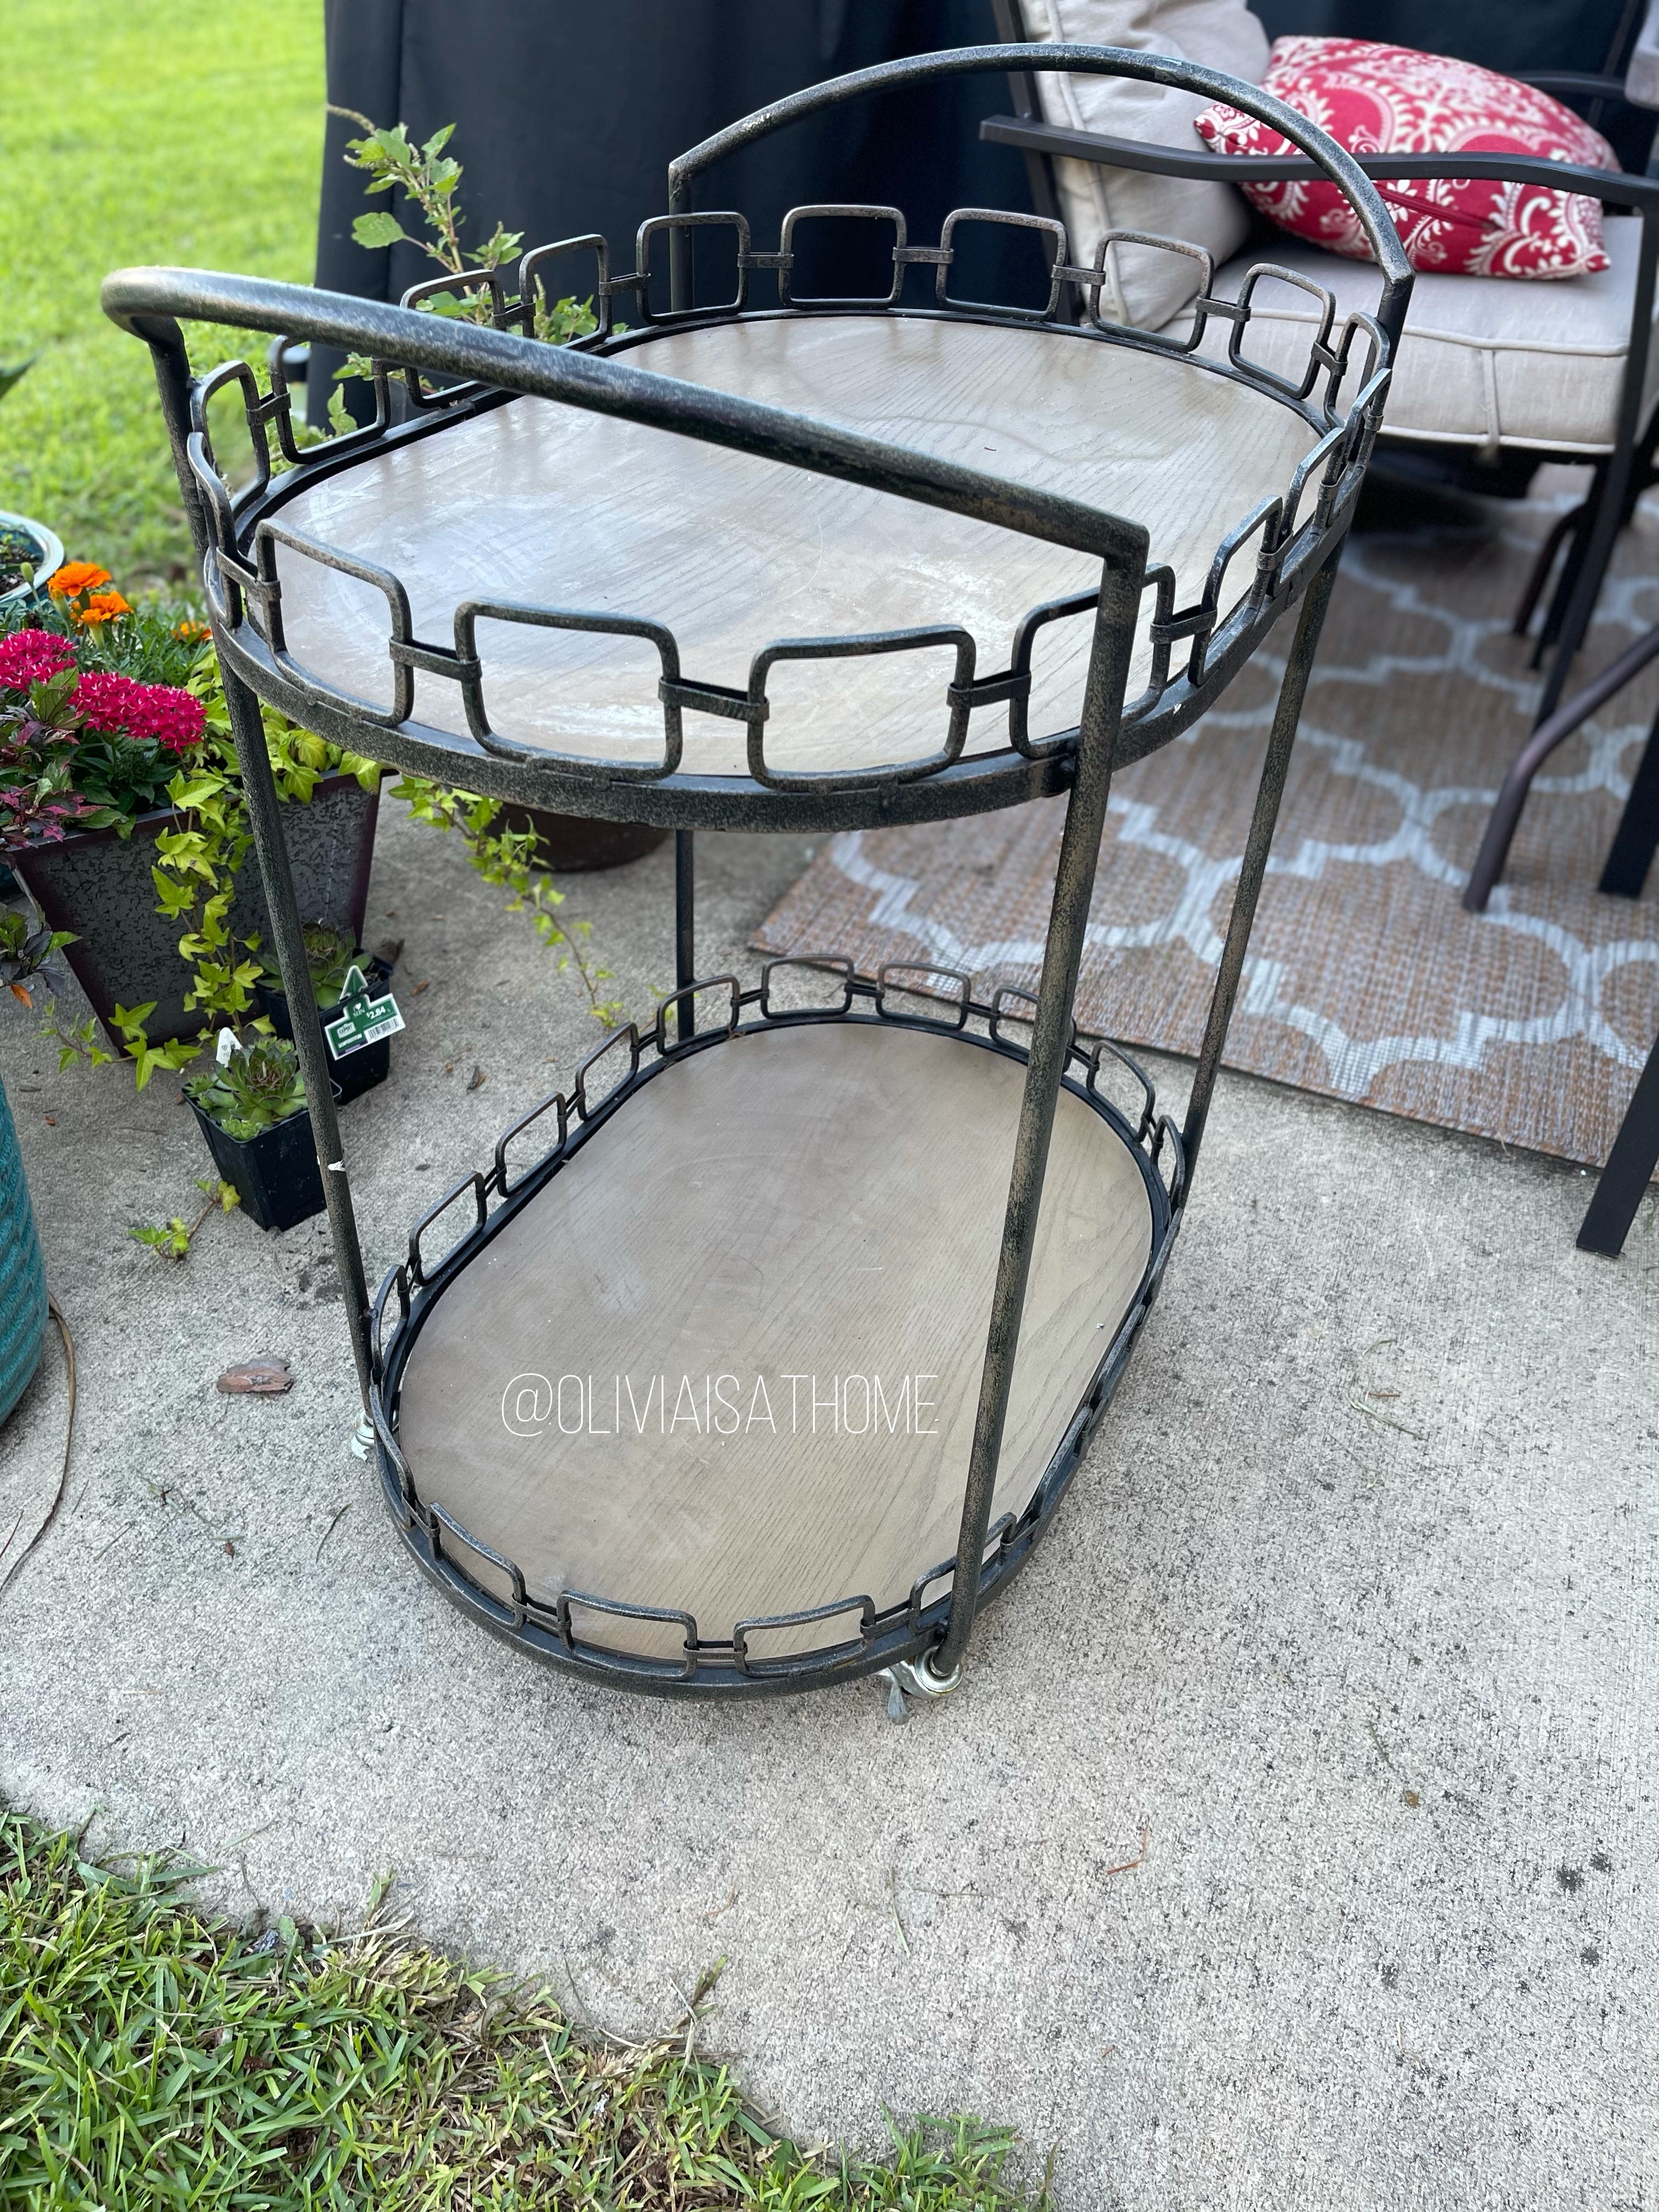
1) I took the bar cart outside and wiped down all the visible areas. I didn’t notice that the metal frame was rusty in any way, so I skipped applying any rust-removing products.
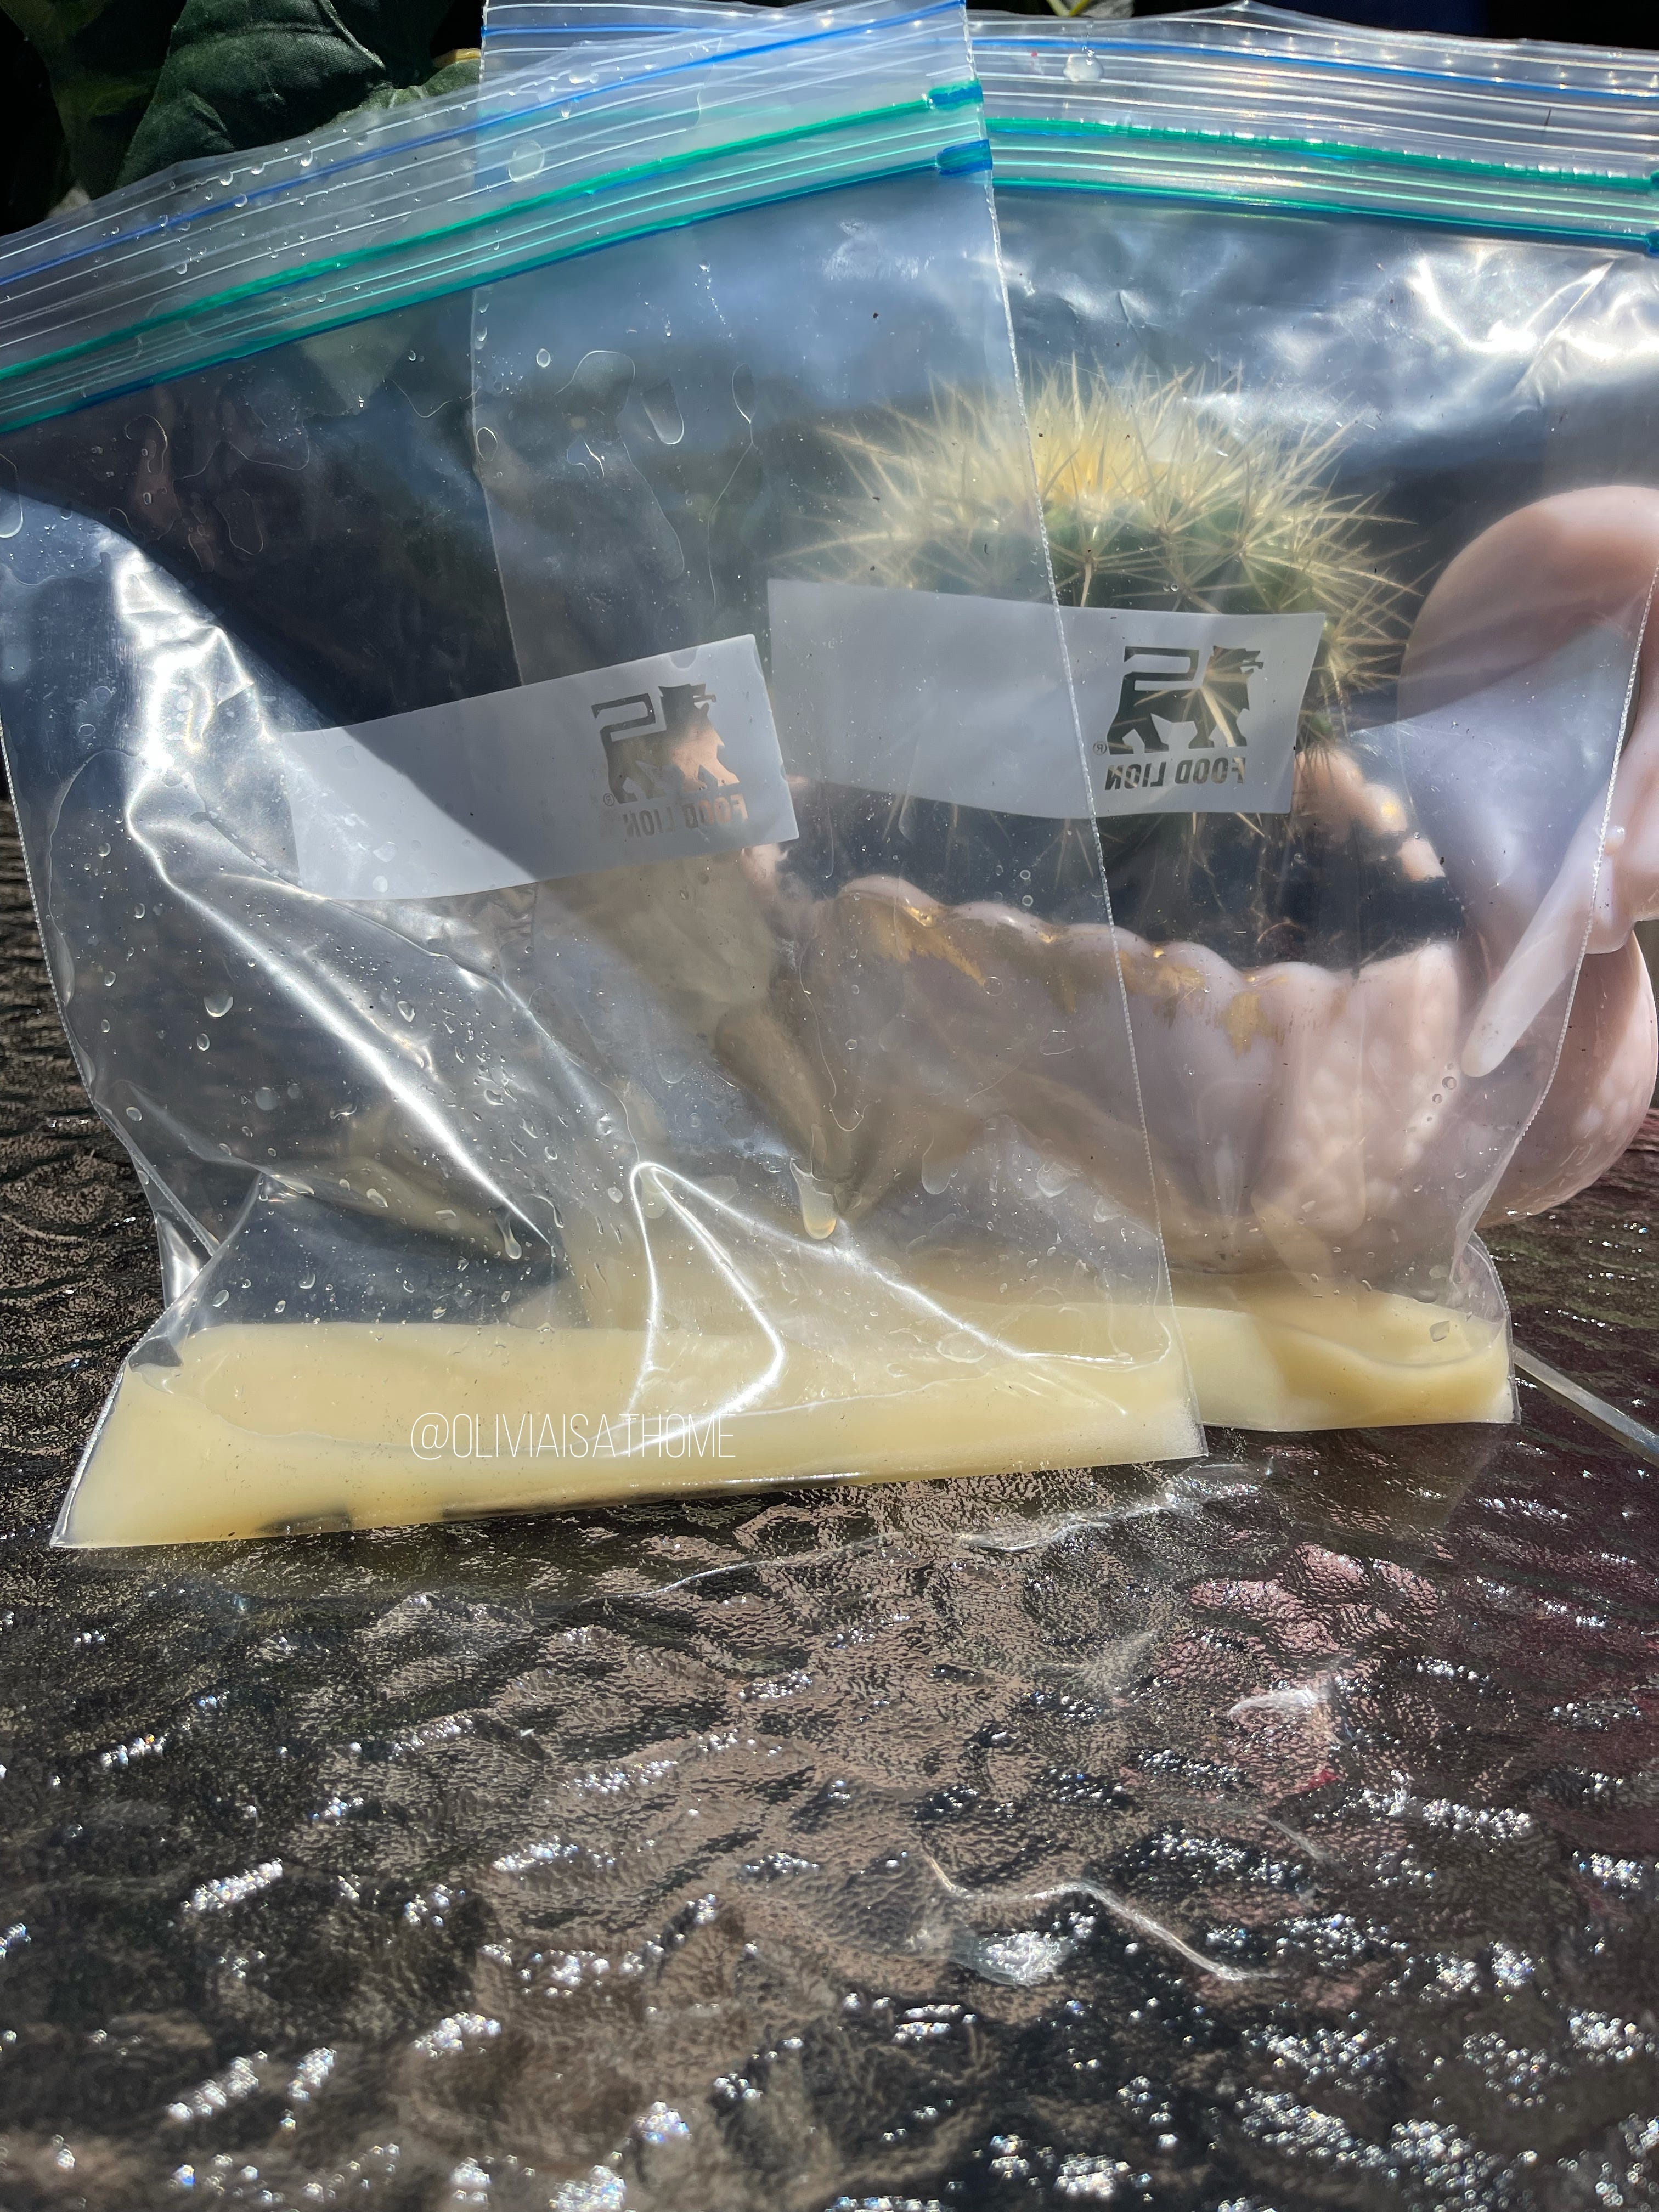
2) After cleaning, I turned the cart over to detach the shelving from the frame. With a screwdriver, I removed ten screws from each shelf, four along the perimeter and six inward along the sides. They were super rusty, so I let them sit in lime juice and salt overnight.
3) While the bottom of both shelves needed cleaning, the second-tier shelf was especially gross with what I can only assume to be the eggs of an insect or arachnid. I’m not super squeamish about bugs, so this was a quick fix, but I’ll admit I didn’t foresee this at the thrift shop.
4) After the shelf bottoms were sanitized, I took sandpaper to the top. Other than scratches, I didn’t see any difference in the color and there was no sawdust. However, they became waxy to the touch. After googling why that was, I realized I wasn’t working with real wood but laminate. This raised concerns about whether the wood stain would work on it.
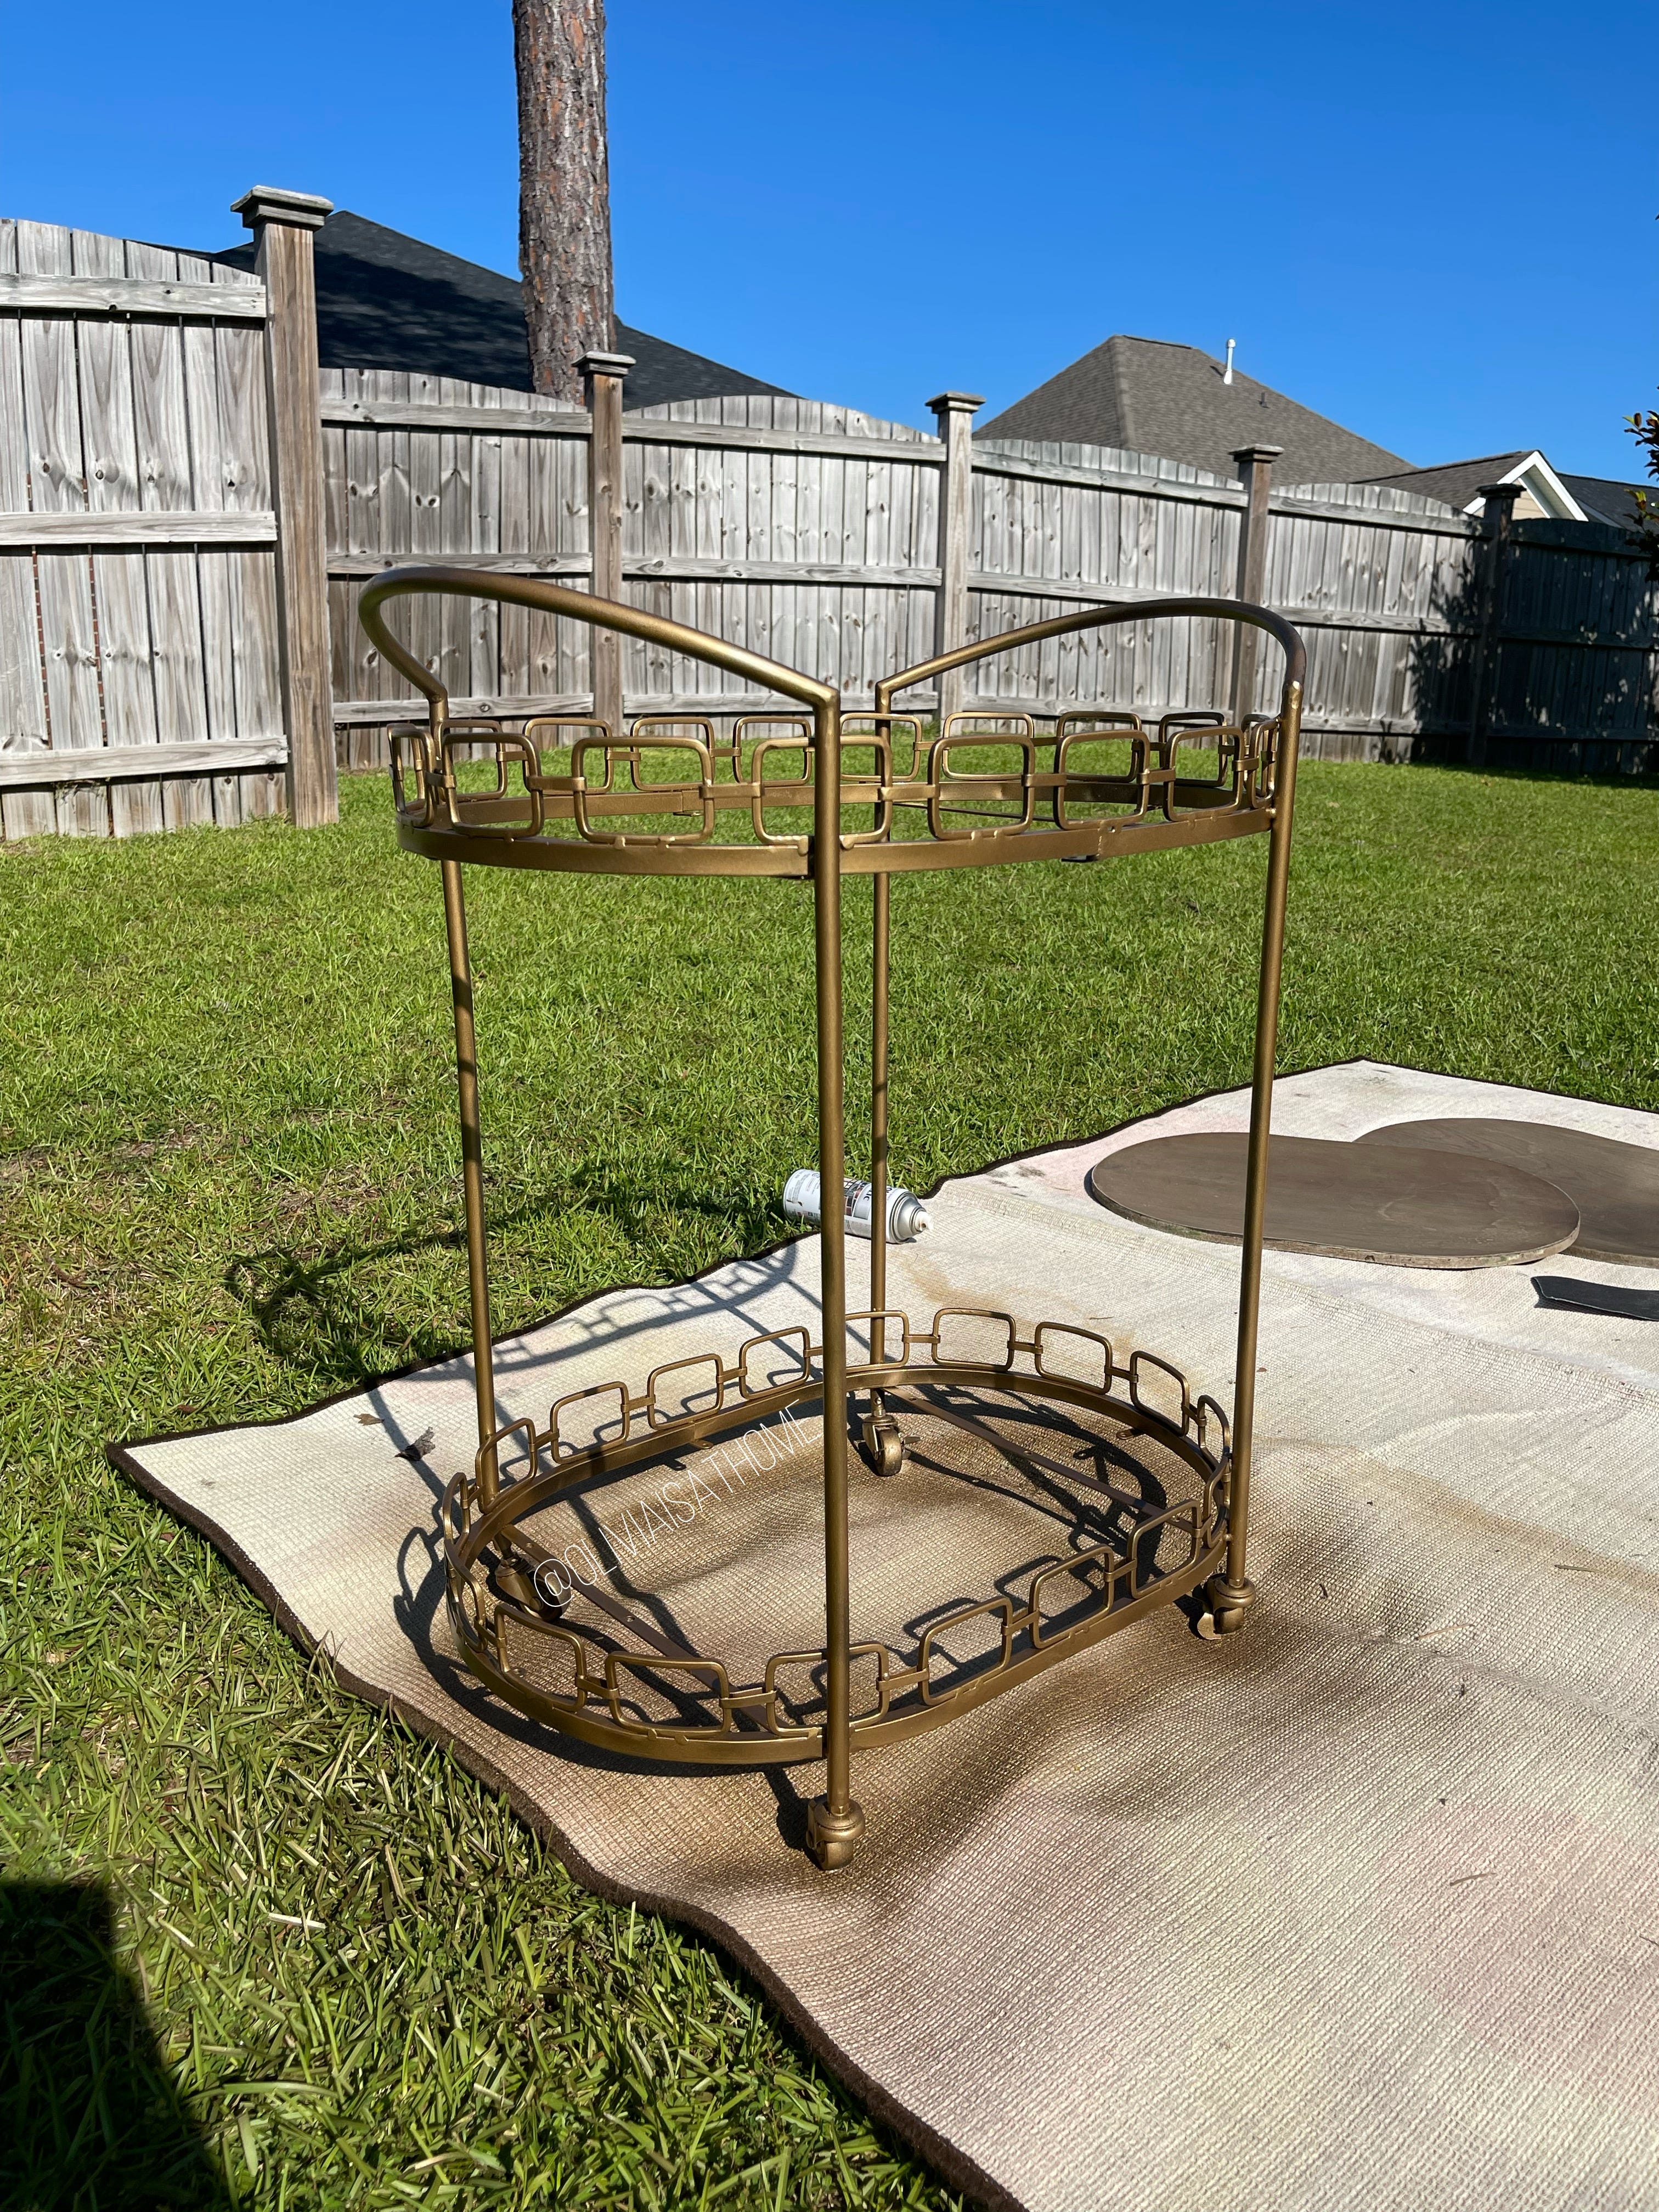
5) As I pondered what to do about that, I decided to spray paint the metal frame. I sprayed one coat all over and let it out for several hours.
6) Back to the wood stain/laminate situation. Because the stain didn’t have anything to adhere to, it wasn’t the best product for the job. After a few rounds of applying it with a cloth and letting it sit for fifteen minutes before wiping it off, I found that the shelves were simply tinted a light brown. It was giving me walnut shell at best, not the luxurious chocolate found in my inspiration photos.
After some quick research, I learned that a better way to “stain” laminate is to use latex paint. Unfortunately, I had no such paint on hand. However, I improvised by spraying a flat brown shade, also by Rust-O-Leum, and let the shelves sit out for two hours.
Once they were dry to the touch, I covered them with wood stain again, swiping the liquid back and forth so all the nooks and crannies caught some of the color. After an hour, I wiped it off and it finally revealed a warmer, deeper finish.
7) With the last coat completely dried, I sealed it with polyurethane. I applied one coat and after two hours, applied a second coat. Following the brand’s instructions, I let the last coat dry for twenty-four hours.
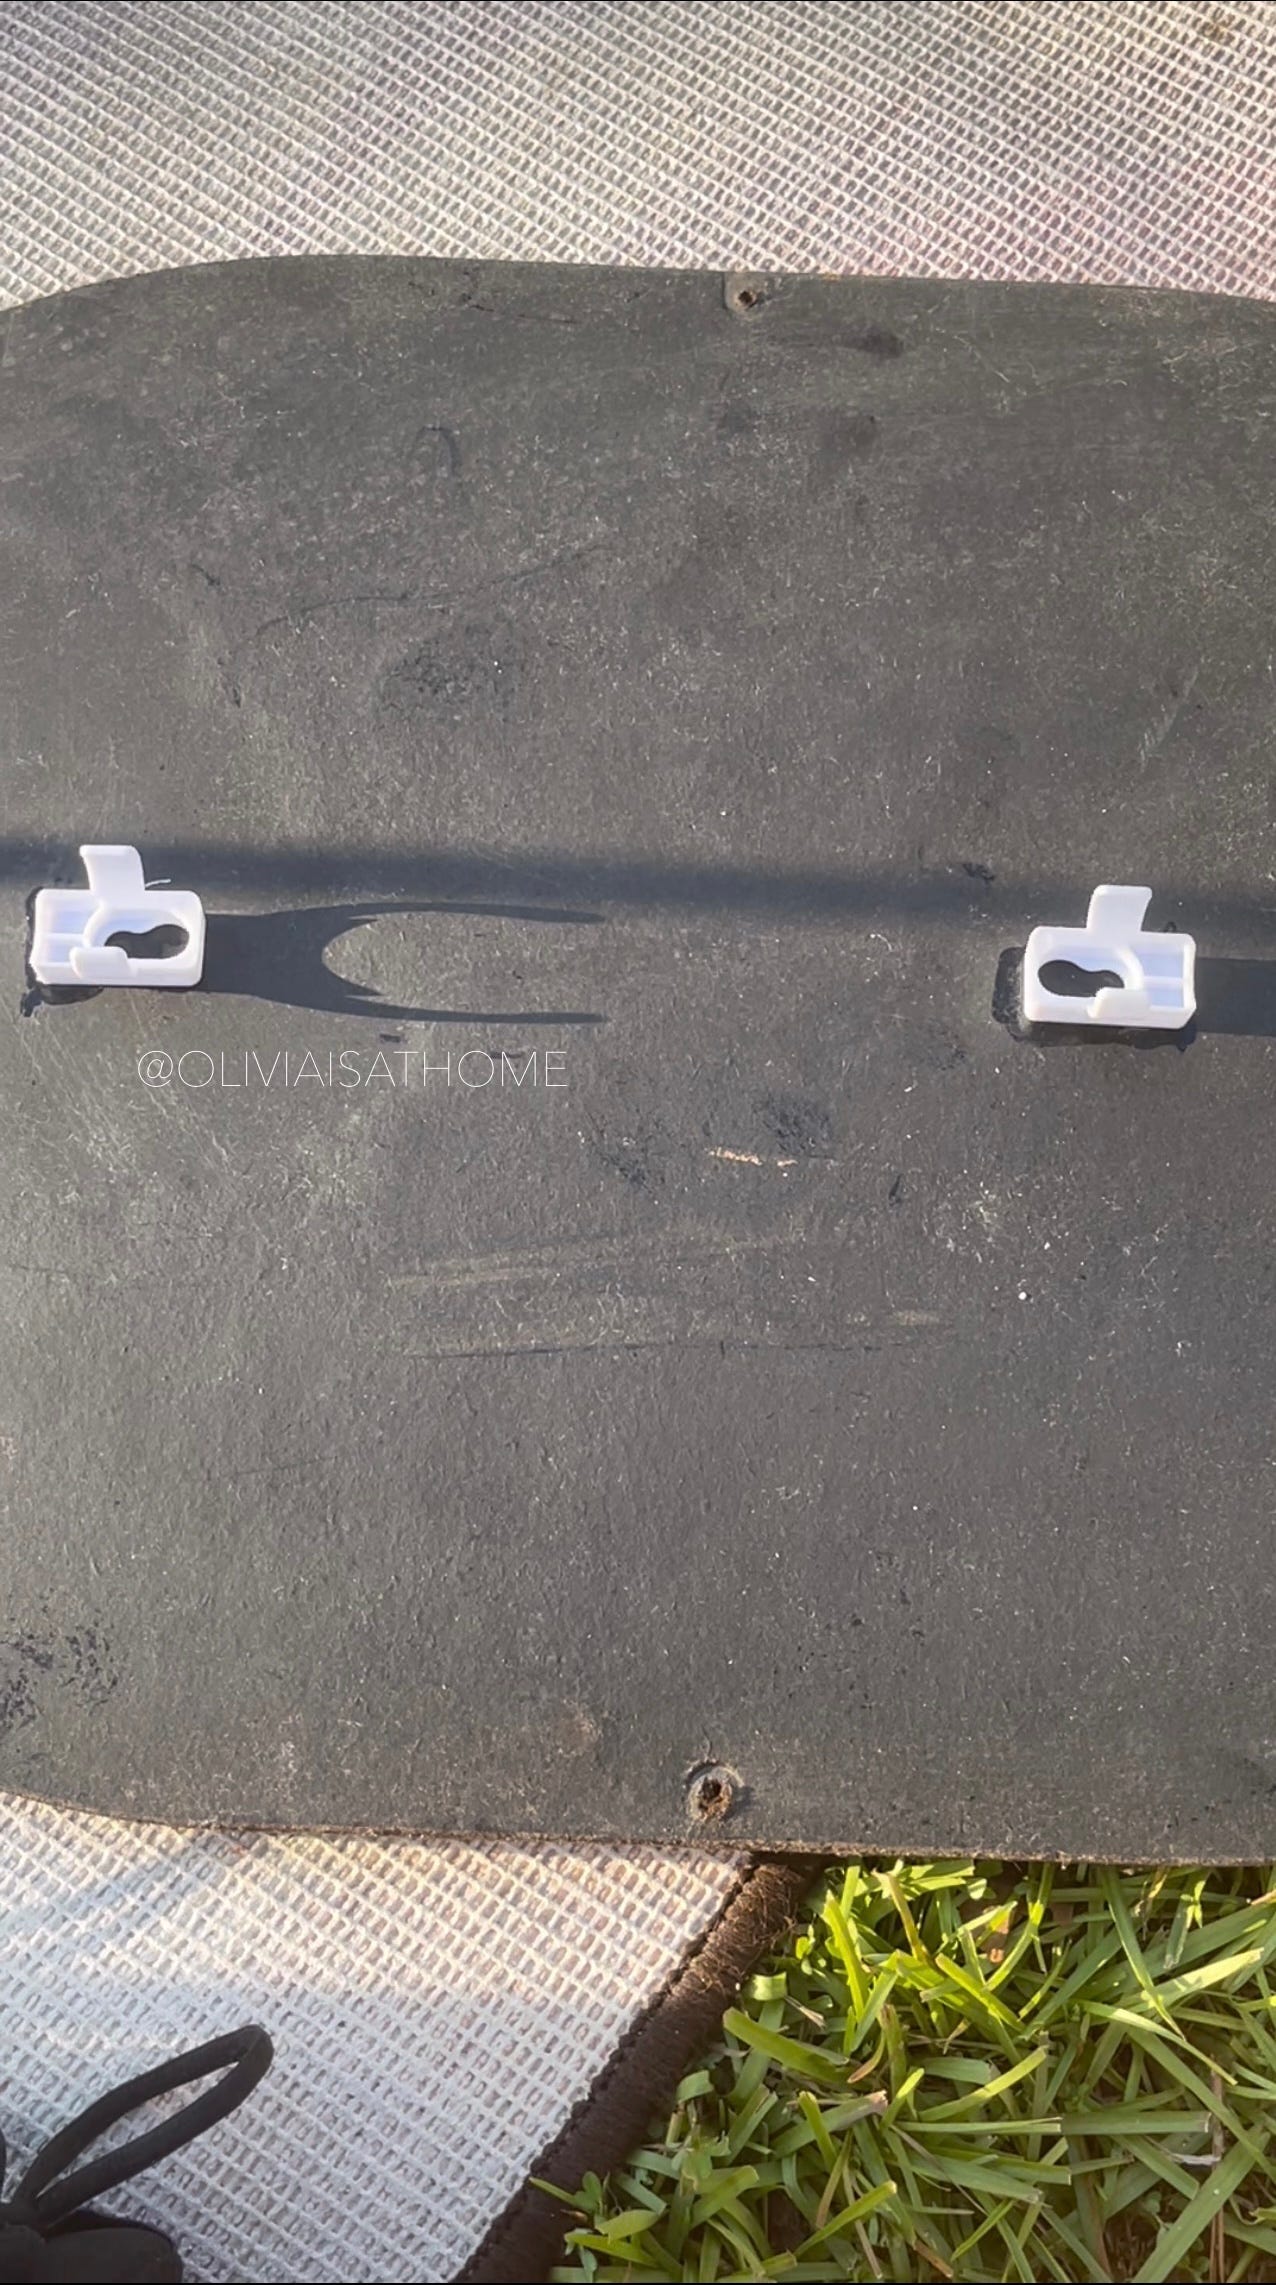
8) The LED light was a bar that came with two clips to attach to either side and suction cups. The suction cups are supposed to click into one side of the clips, while the bar locks into the other. It may have just been my purchase, but the suction cups did not stick to the bottom of the top shelf, so I glued the clips onto the cart towards the center and placed the bar light-side down in the clips.
9) I took the screws out of their bag and dried them off. I screwed the shelves in their frame by laying the cart on its side.
Admittedly, I had a little trouble attaching the top shelf. While the cart was wonky when I got it, I think the shelves became a bit warped sitting in the sun. In order to get the last of the four frame screws in, I turned the cart right-side-up, grabbed one of my mom’s heavy potted plants, and sat it on top of the shelf.

10) After I brought the cart inside, I checked to see if the light and the remote worked. I played around with the light’s four different modes (flash, strobe, smooth, and fade) and its sixteen different colors.

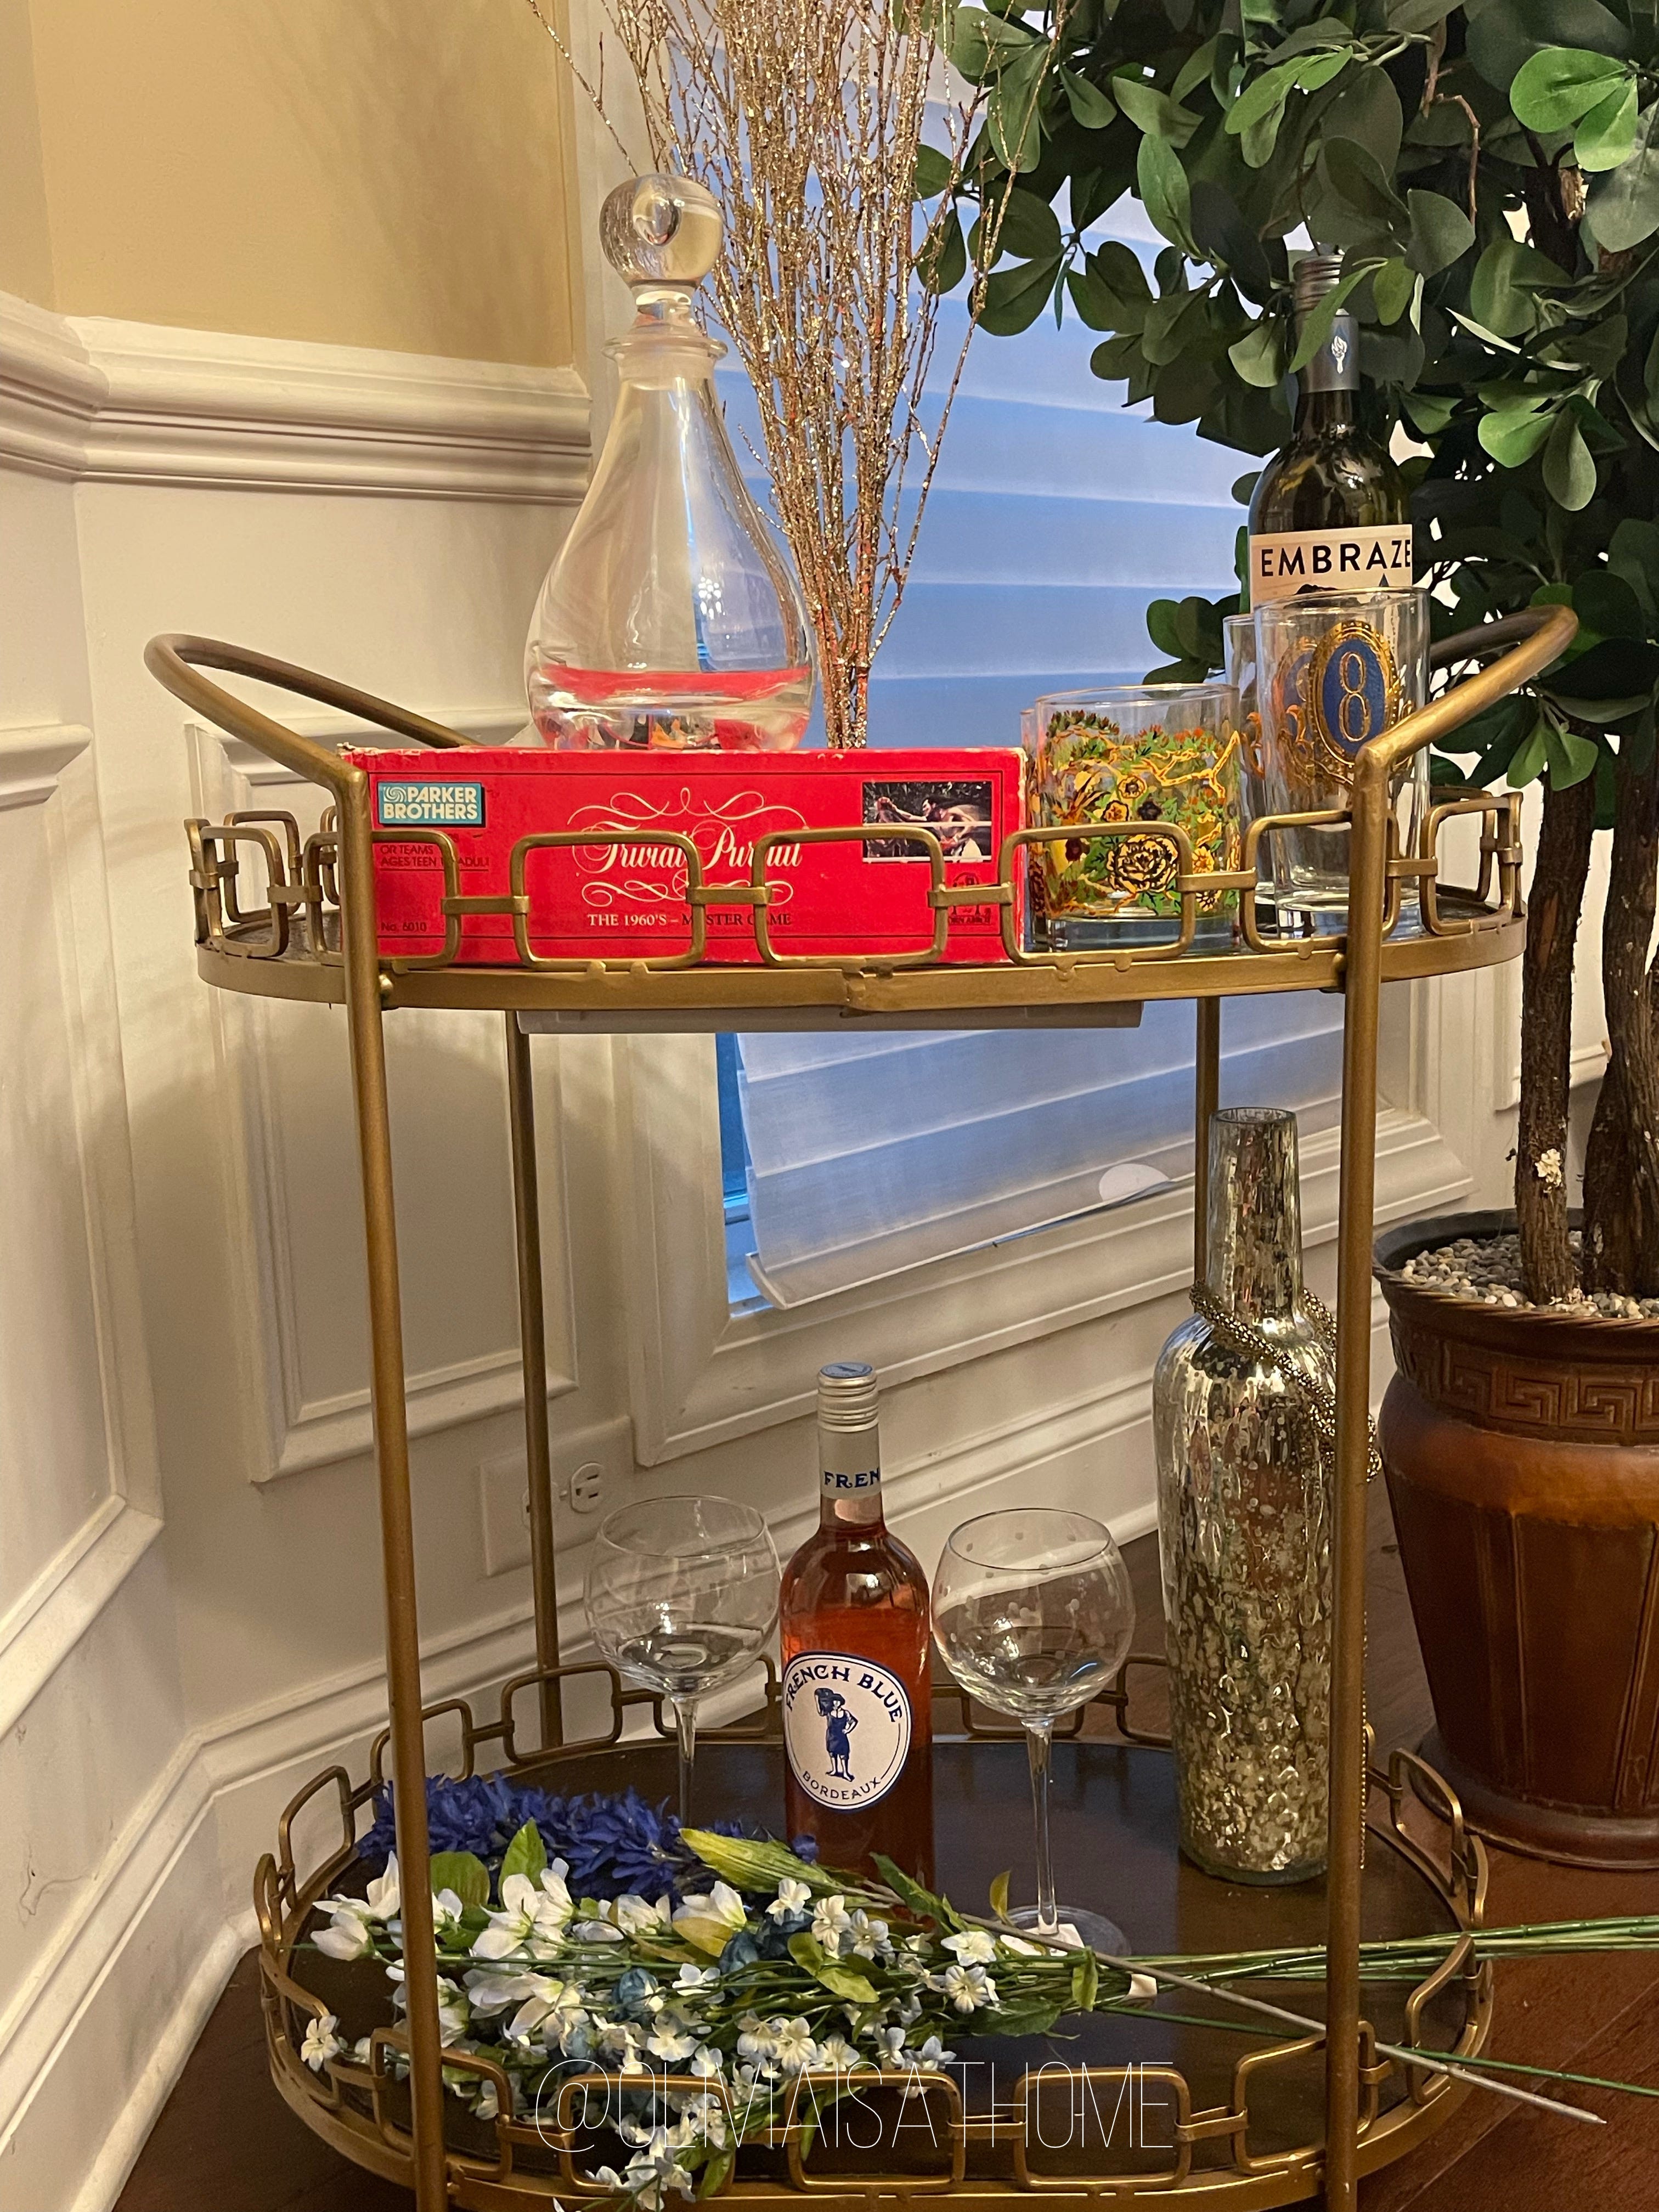
11) Finally, I played with styling it with things around the house and some of my new glassware. The light hitting the bottom shelf makes for a great effect, possibly a fun conversation piece during a party. I have ideas on how I want to decorate it, but I may add some lighting above the cart later so the top shelf is also covered.
Out of all the arts and crafts or DIY projects I have ever done, this was by far the hardest (and the hottest). But it’s probably the most rewarding. Despite a few hiccups, I love how it turned out. I’m glad I got the shelves close to the color I wanted, and I think the light captures the spirit of those swanky NYC and L.A. bars. It’s a great start to me achieving the vibe I want in my new space.
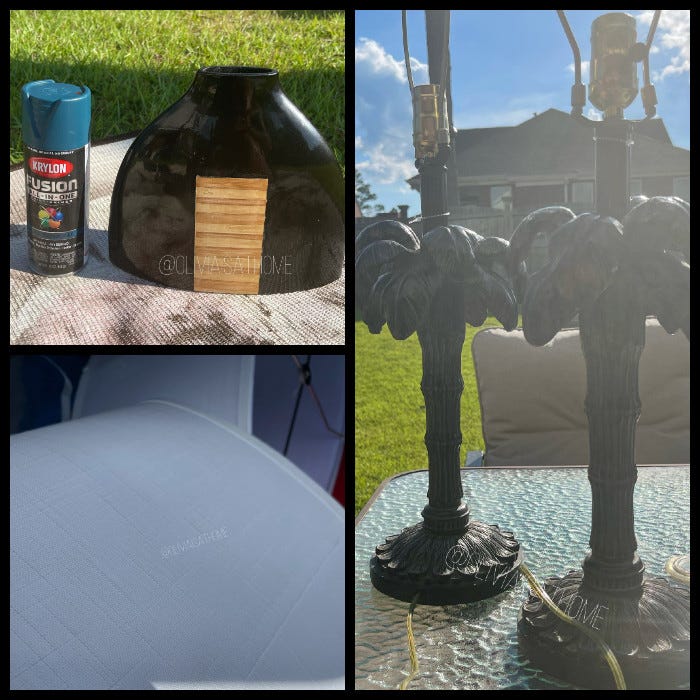
UP NEXT
Not one but two DIY projects! I’ll break down how I made over this secondhand vase and lampshades using a viral art technique. I’ll also talk about what inspired me to grab these lamps and how they went from dark brown to brick red and finally bright gold. Make sure to subscribe so you don’t miss out!