


Disclaimer: This is part one of my experience hydrodipping. In this installment, I’ll break down the technique and the thrifted vase that inspired me to seek it out. In my next post, I’ll explore the lamps and lampshades I mentioned in my June 28th post. While I want to be thorough, I also don’t want to take up too much of your time. So, shorter, more focused posts and more content. Please enjoy.
I can’t leave well enough alone. Sometimes if I’m making a new dish, I’ll follow the recipe… to a point. After a taste or two, a few dashes of red pepper flakes or red wine vinegar will inevitably end up in the pan, regardless of whether whatever I’m making needed to be spicy or acidic. This urge to fiddle goes beyond food. I was recently discussing a makeup technique with a friend, and after I sent her pictures of myself demonstrating a halo eye, we both noted that I was able to wear it without gliding black eyeliner across my top lash line, something I’ve been doing for almost any occasion for a decade now. And to be honest, even though the look I showed her was fine without black eyeliner, I assure you I pulled out the pen and set it in front of me just in case.
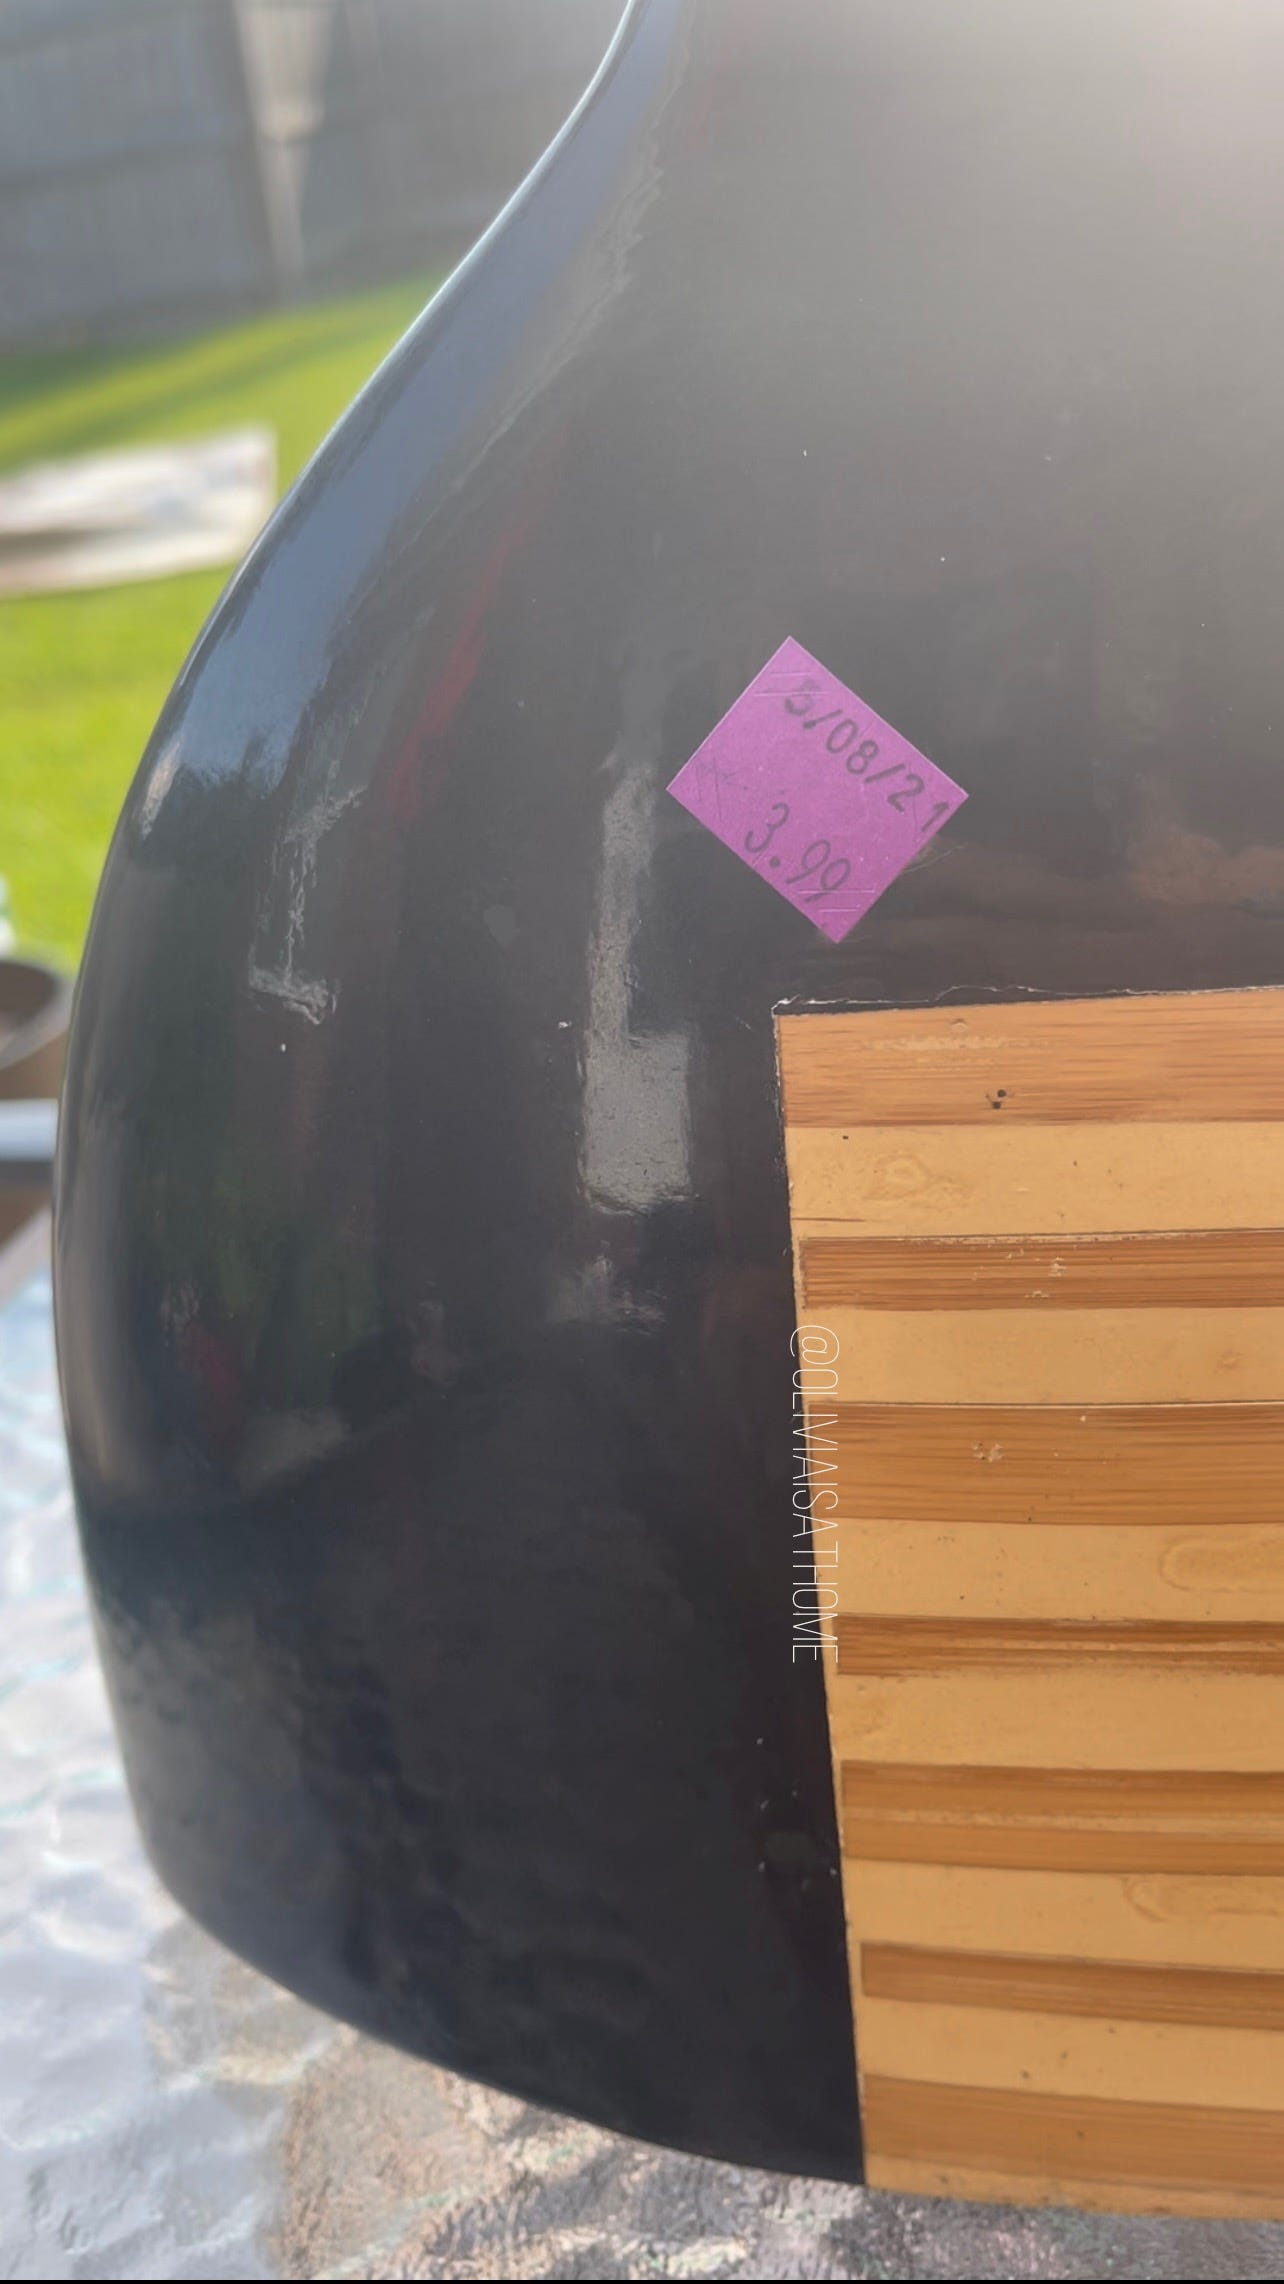
Sometimes I’ll pick up something from a thrift shop, and I’ll leave it untouched when I get home because I know exactly where I’ll put it or how I’ll use it. It is fine as is. Other times, I’ll find something, like a $4 vase, and I consider its potential. It’s not bad and I may not make it better, but it could be different.
I haven’t moved into my new apartment yet, but after walking through Walmart the other day and seeing towels in the prettiest shade of teal I’ve ever seen, I remembered the vase I’d found at Goodwill a month prior. Standing tall and wide with a glossy black finish and wood paneling in the middle, I could leave it just like that and I’m sure I could make it work…
But that’s not me.

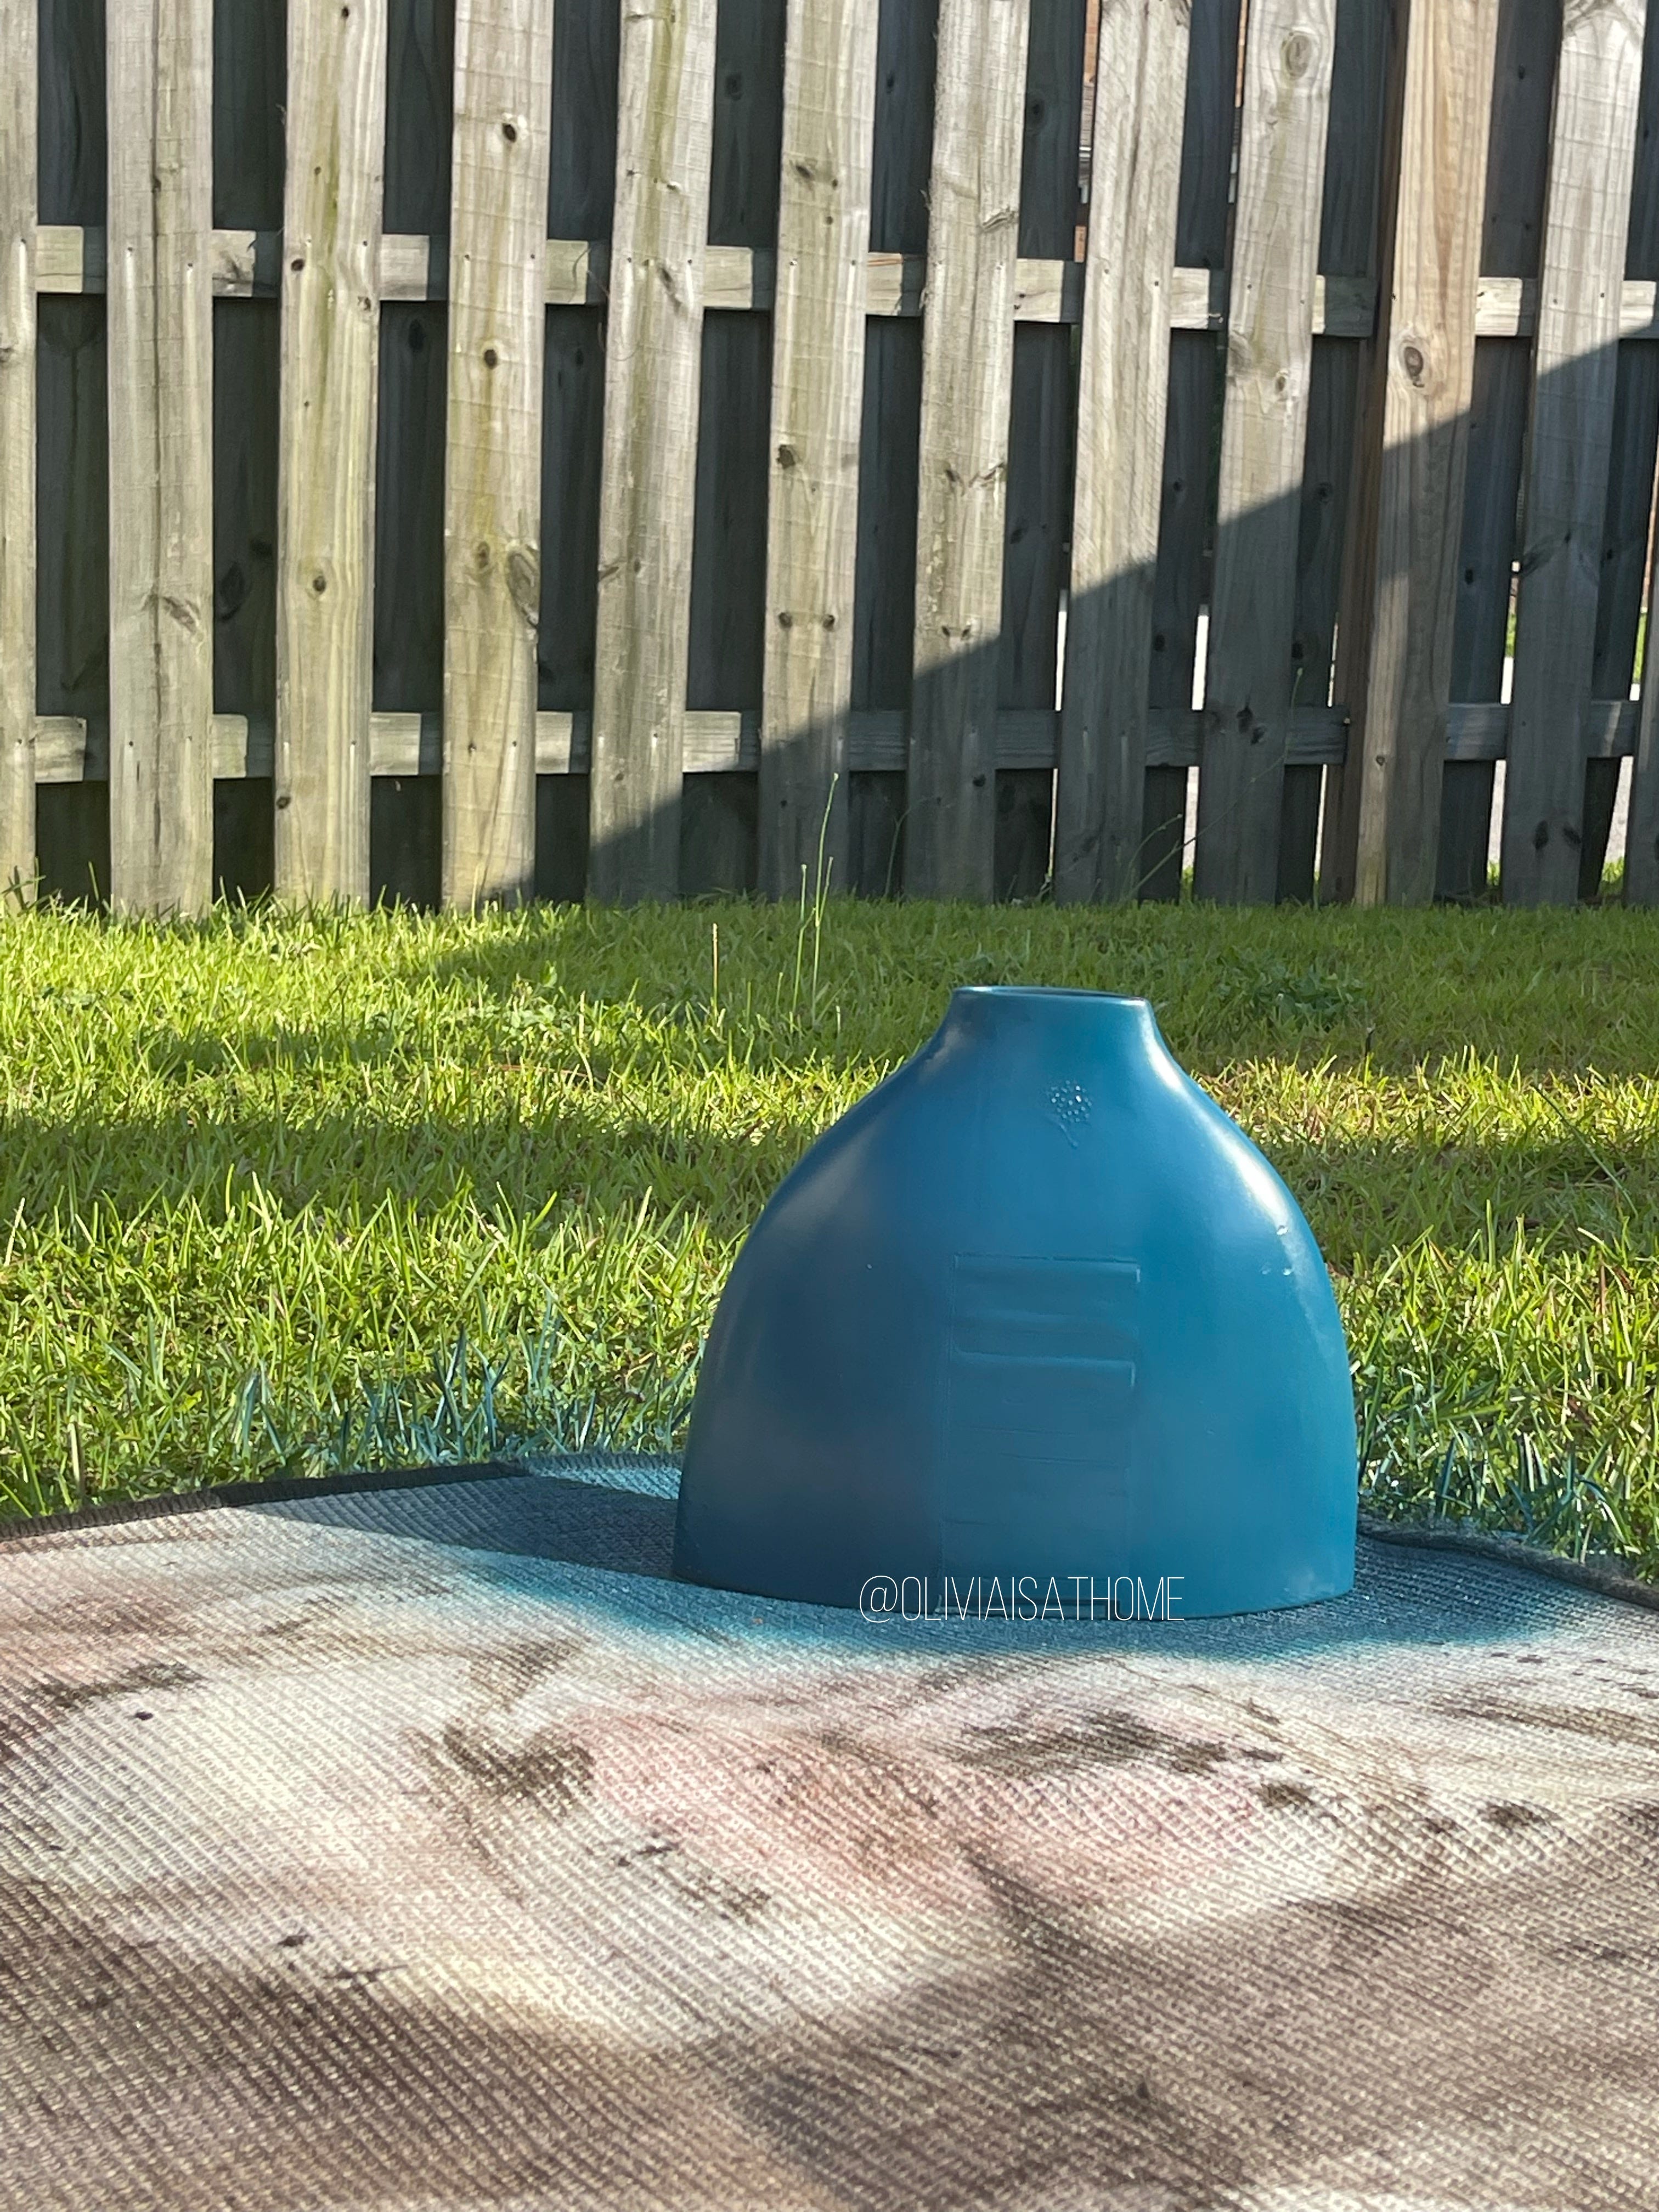
While most of my current ideas are simply based on taste and research, I don’t know for sure how I’ll feel once I get into my new place. However, I started to imagine those towels in my bathroom and the vase, newly made teal, placed on the counter near the faucet, maybe with some flowers. And then while studying the vase’s curves and narrow depth, I was seeing the teal vase dipped in gold, as if a lacquer was washing up and over from its bottom.
To achieve this, I first considered spray painting the vase teal, and then brushing on the gold paint. While I’m sure this would’ve looked fine, the gold would’ve been too flat, not giving me that “dipped” effect I was looking for. Then I remembered something I saw on TikTok last year.
WHAT IS HYDRODIPPING?
Hydrodipping, or water transfer printing, is when a thinly printed film is placed on a pool of water and an object is dropped into it, causing the film to coat the object and leave a design or pattern. While we don’t know for certain when this technique began, a patent for a water transfer printing machine was registered by Motoyasu Nakanishi in the early 1980s. You probably have something that was decorated with a water transfer printing machine like a bicycle helmet or the case on your video game controller. And now you can buy a kit that allows you to add your own logo or design to the film before printing it out and coating an object in it.
But you don’t need a machine or kit to do this at home. Last year, hydrodipping went viral on TikTok and YouTube, and if you search for the technique, you’ll find videos of folks dipping anything from Crocs to travel coffee mugs to humans. All they had was a bucket full of water, some spray paint, and an object (or body) to dip.
SUPPLIES
· A bucket or a large plastic tub
· Water. I didn’t measure it out, but I’m sure I used a few gallons.
· Spray paint. For the purposes of my project, I only needed two cans, one for changing the vase from black to Peacock blue, and the other, a gold, for the actual process of hydrodipping. You may want to grab several cans based on how many colors you want to appear on your piece.
· Your desired object. It can be wooden, glass, plastic, or in my case, ceramic. Please don’t dip something that is not waterproof or even questionably so, i.e., a phone.
· Sandpaper. This is potentially optional depending on what you’re hydrodipping. If it’s wood or if the paint found on it is already uneven, you may want to buff it out or even remove the paint to create a smooth base for your new paint to adhere to.
· Mask
· Goggles
· A sealant.
THE UPGRADE
Once you have your object, consider any prep work it may need to do before you begin the process. For my vase, I wanted to remove the clear coating over the wood paneling. Once it was buffed out, I wiped down the vase to remove any sawdust.
If you want a base color on your object, consider spray painting directly onto it and letting that paint dry based on the time instructed. My teal shade didn’t take long to dry but I didn’t start hydrodipping until the next day.
Fill your bucket up with water, at least enough to have the depth to cover your object as much as you want it.
Take your desired paint and spray it on top of the water for several seconds depending on how big your object is and how much you want it covered. If you’re wanting to achieve a marbled look, spray one color towards the center of the water, and then grab your next color and spray in the center of the first. This will cause the first color to spread a bit. Do this however many times based on how many colors you have. You can also repeat colors. Once you have enough paint, you’ll soon see the water becoming marbled and opaque.
For my vase, I only used one shade of gold. I sprayed for several seconds, stopped, and sprayed again, also towards the center.
Once the paint is on the water, it begins to film. Submerge your object into the water for a few seconds, just long enough for it to become coated. Carefully pull it out and let it dry. I let my vase dry overnight for several hours before spraying it with a topcoat.
TIPS
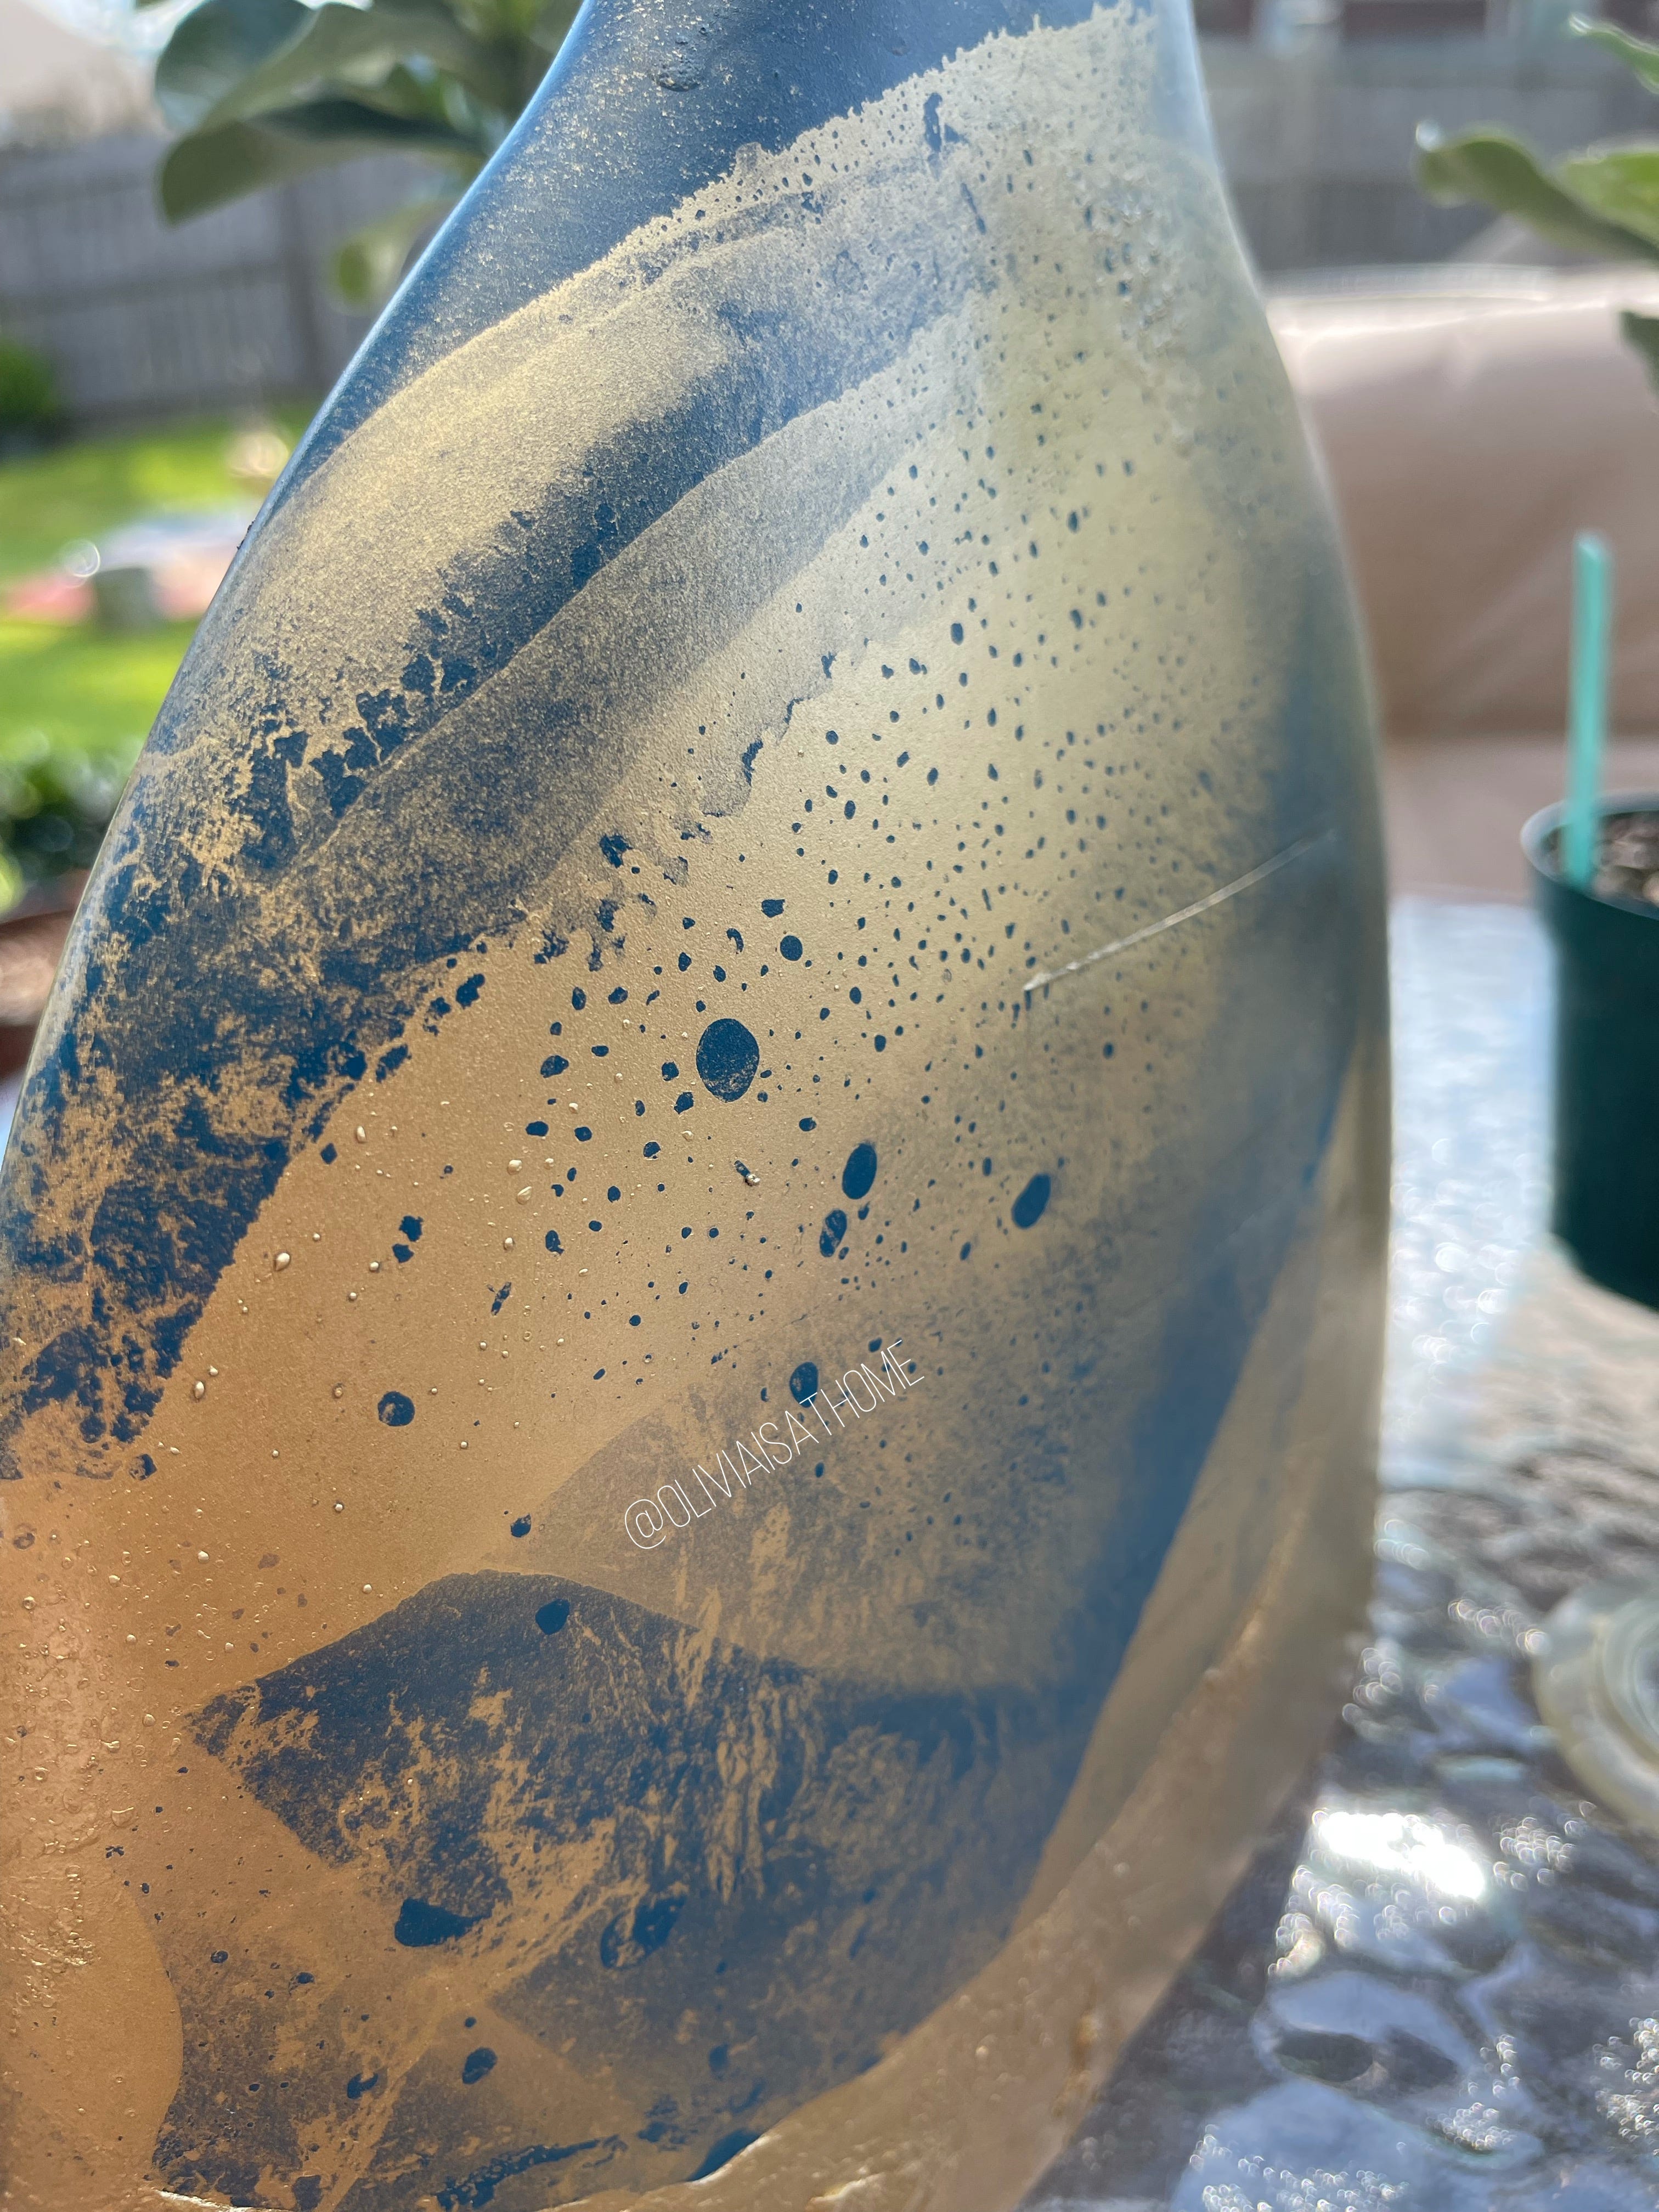
If you want a smooth, cohesive print on your object, move quickly and dip it into the water. I found that not moving fast (in the very hot sun) caused some of that gold film to dry and break up. After I dipped my vase and pulled it out, water droplets were covering parts of it, and where there should have been gold, there were tiny spots of teal. To be honest, I was okay with that, and I left it. I didn’t achieve that partial “dipped in gold” effect I wanted, but I liked the touches of teal peeking through the gold. The whole thing is a little more abstract than I intended and that’s cool with me.
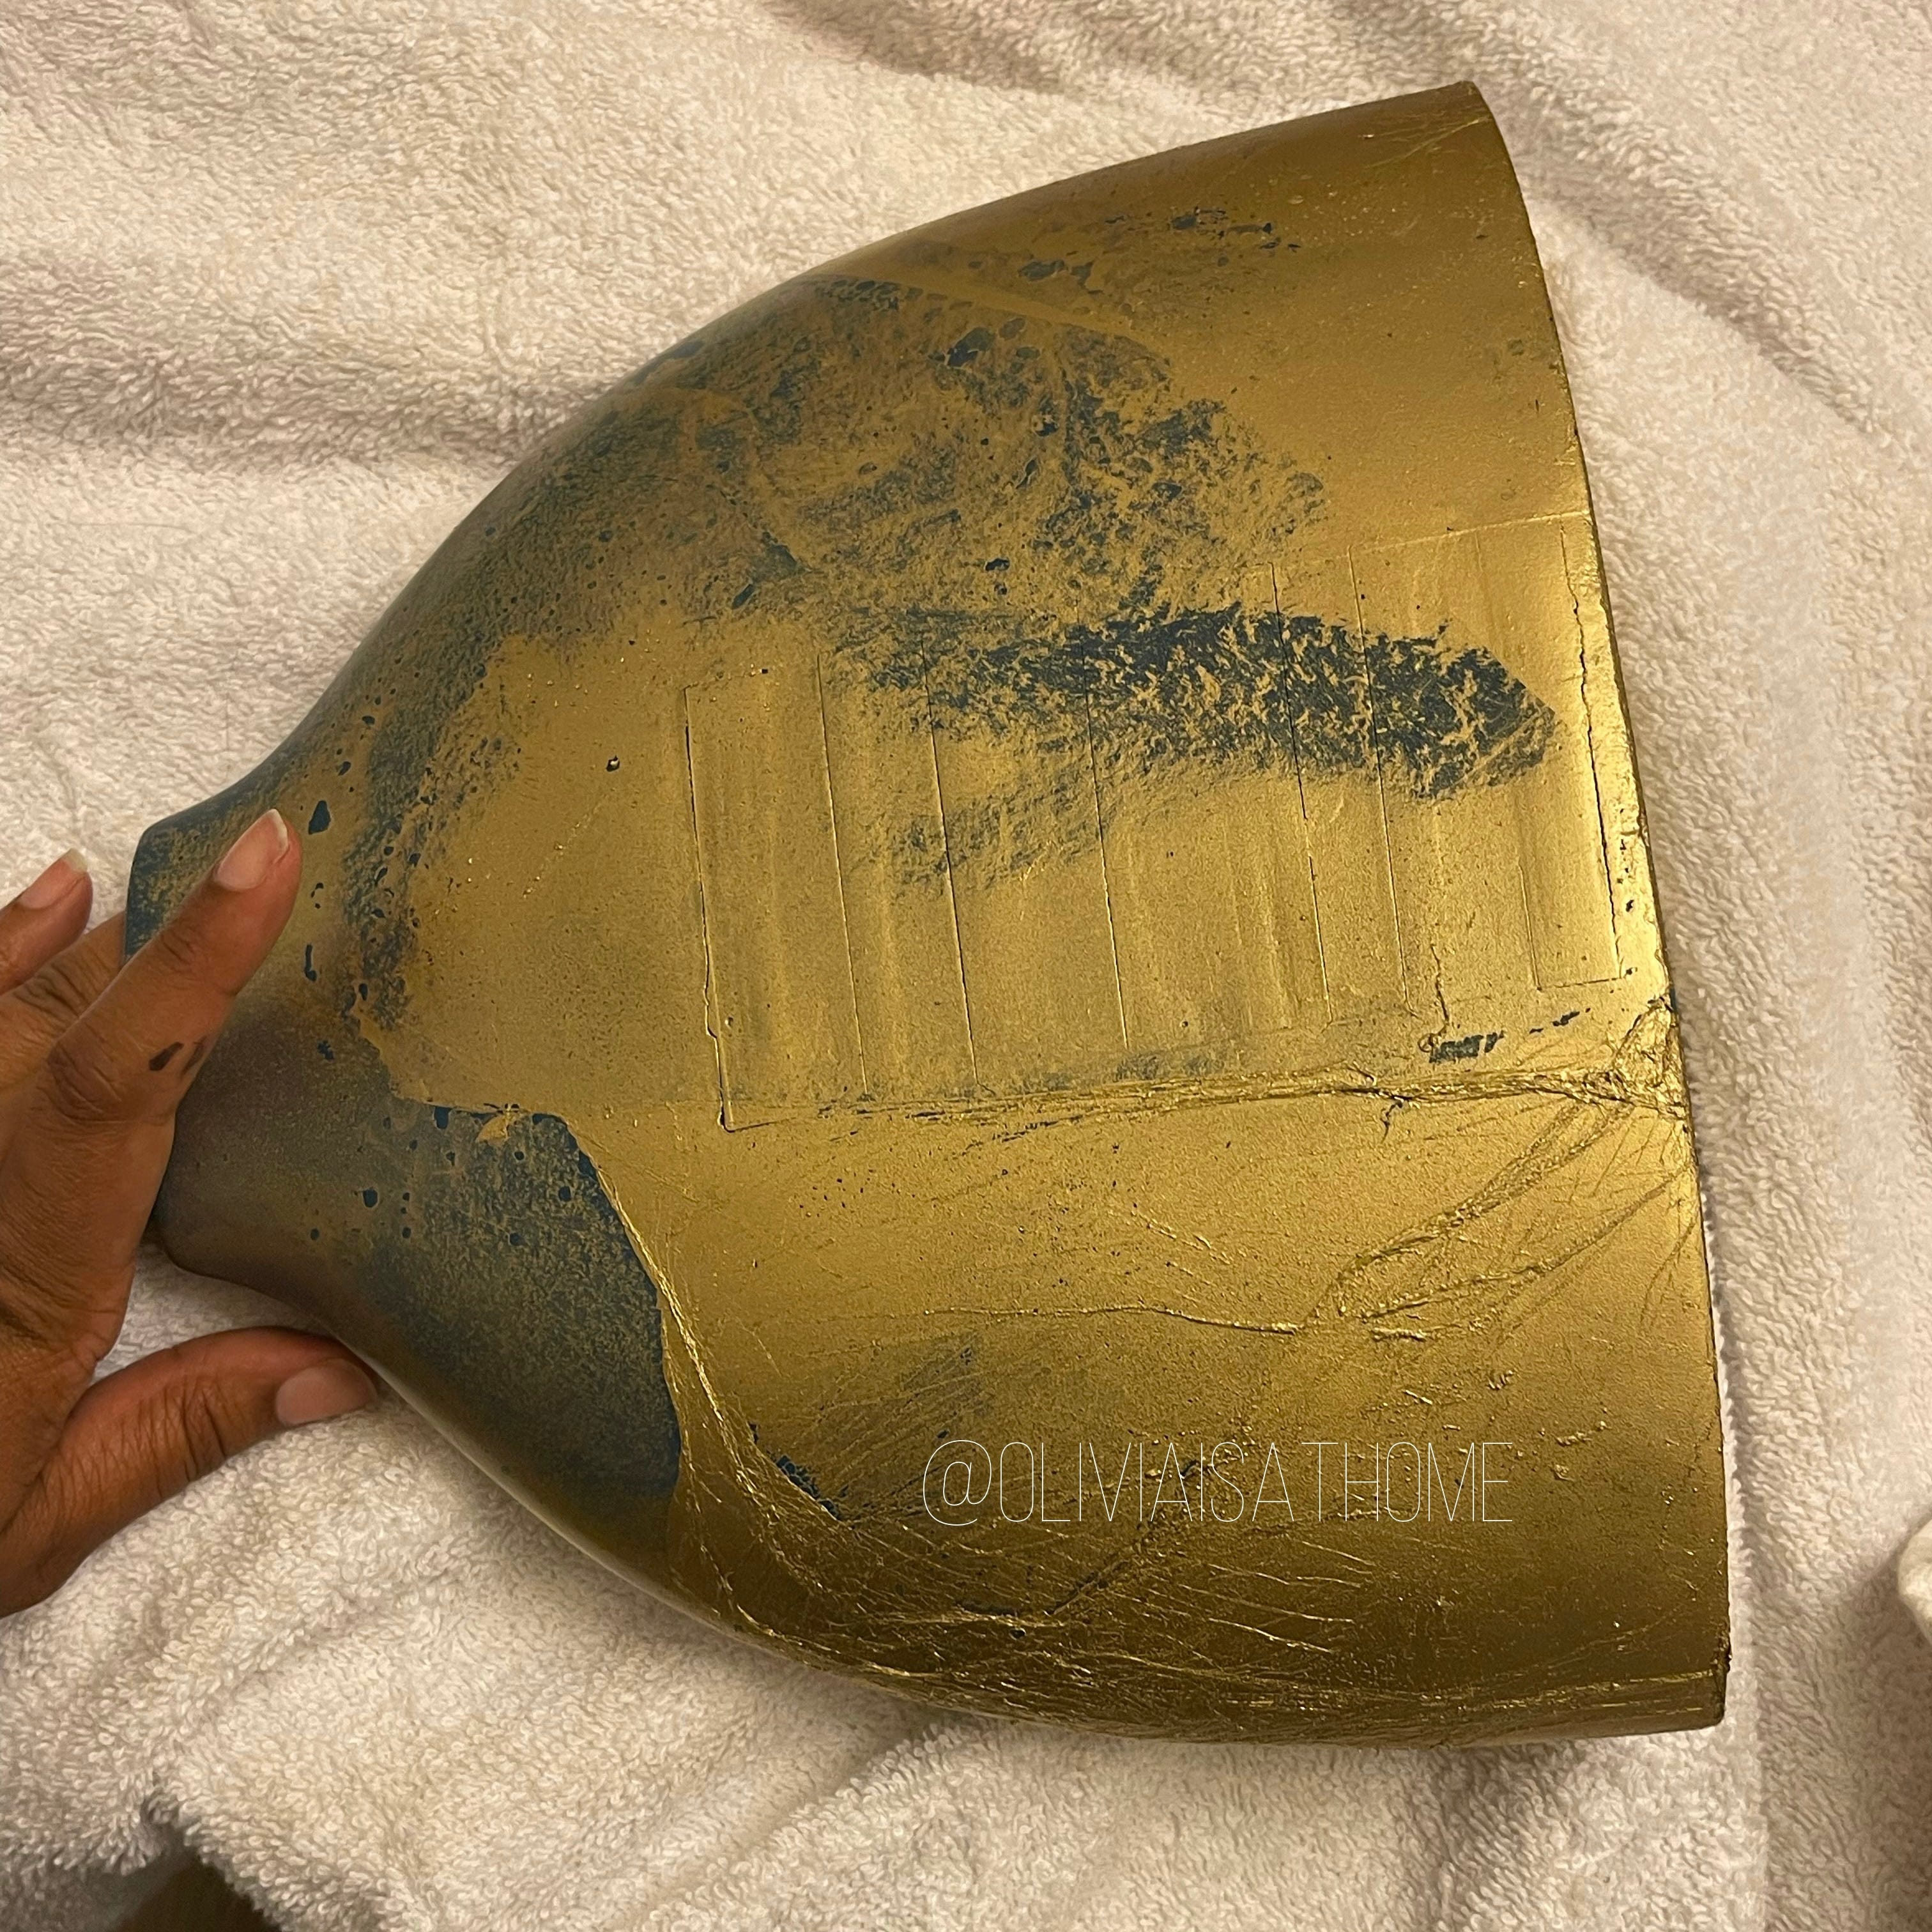
Because some of the paint was in the water longer than the rest, it had more time to dry. Instead of having that smooth look, I ended up with folds of gold towards the bottom. This texture added more dimension to that smooth vase I had found at Goodwill. If you’re dipping something like a plastic coffee mug, this effect may not be practical, but if it’s a vase or something else considered to be decorative, consider leaving that texture.
If you want to see me going through this process, you can find a few videos of it on my TikTok account.
UP NEXT
As promised, my next post I will cover how and why I upgraded those palm tree lamps. Also, I’ll share an update on where they’ll go.
I’ll be moving this upcoming weekend so a hiatus will be coming but that means I’ll be in my new place and I’ll probably have more ideas to share with you all. If you’re not already, make sure you’re subscribed and following me on TikTok and Instagram.
QUESTION OF THE WEEK
How do you pronounce vase? “Vase” or “vase?” I say, “vase.” Comment below.